Saturday, June 25, 2011

Folk Toy Fridays - Folk Instruments - Paper Cup Cuicas

Did you know, that the sounds of a soda pop covered, plastic straw being raised, and lowered in a paper cup...


...are very reminiscent of a cuica (kweeka), a Brazilian folk instrument, used for percussion in samba music?

Check out the video above, and then this YouTube video of a cuica, if you don't believe me.

The children managed to get a pretty good range of sounds from their cups, before I had to curtail the music lesson, in response to angry glances coming from the quiet people at the table next to ours (clearly, they were not homeschoolers, or bloggers).

Actual cuicas, or laughing gourds, are open drums with a stick attached to the middle of the drum membrane, that can be rubbed with a wet cloth, to produce a high pitched range of sounds, sort of like the cackling cups we played with last summer. But, the straws in the cup lids, sounded a lot more like the real thing, to me, and were pretty simple to make.

  • Fill fast food cups with soda pop.

  • Add lids, straws, and children with a few minutes to kill.


And, just like that, you have a band, or at least a pretty good percussion section.


It's great to be a homeschooler.

Friday, June 24, 2011

Glow In The Dark "Ketchup" Sketcher

I'm putting Folk Toy Fridays off to the weekend again, to allow our days to slow back down, now that we're through with Vacation Bible School. Folk toys are really best enjoyed on slow, lazy moving days.

But, while I had the glow-in-the-dark paint out earlier this week, I decided to redo our ketchup sketcher idea, from a year ago.

Instead of filling the baggie with ketchup, I put in a flour, water, and food coloring mix (think thin play dough, or flour paint).


And, instead of having the children color a piece of cereal box cardboard to stick underneath, I painted it with a couple of layers of latex, glow-in-the-dark paint (it takes at least two coats to get a good glow).


I used the other side of the cereal box, to make a frame, an inch or so larger than the baggie, to glue onto the painted cardboard, on three sides. The top edge needs to be left open, so the baggie can be removed from time to time, to expose the painted surface to the light.


It's great for drawing...


...4th of July fireworks.


Or possibly, 1st of July fireworks, if you live a little farther to the north.


It's great to be a homeschooler.

Thursday, June 23, 2011

Glow In The Dark Surprise, Popsicle Stick Bracelets

A, returned today, after accompanying the Man of the House on a business trip to Oregon, and brought back with her, her BFF, for a week long visit.

Needless to say, crafts and outrageously entertaining activities are going to be in order.

While A was gone, I got a jump on things, and prepared a few Popsicle stick bracelets (an idea I saw over at Suzy's Artsy Crafty Sitcom), for the girls to decorate.

I soaked jumbo Popsicle sticks in water for five, or six hours, until they were easy to bend, without breaking.


Then, I wrapped them around spice jars, and stuck some inside of jars, cups, and lids, to get them curved around small enough to fit child-sized wrists.


We live in a dry climate, so they were dry enough to hold their form in a matter of hours. A few of them were splintery on the edges, so I gave them a quick pass with fine sandpaper, to make them smooth, and ready for the girls to decorate, simply, with markers.


What I'm not going to tell them, is that I painted the bracelets with glow-in-the-dark paint. I was so happy to find some at the hardware store. Maybe I'll get to those mason jar stars yet, or some of the other six thousand glow-in-the-dark projects I've been pondering.

As for the bracelets, the only tip I have is go easy on the paint. Too much moisture will make them straighten out again. It's worth it to take the extra time, and apply several thin coats, instead of one thick one.


The girls are going to be so surprised!

It's great to be a homeschooler.

Wednesday, June 22, 2011

Safe to Eat (No Egg) Chocolate Chip Cookie Dough In a Bag

You know those perfect summer days, when it starts out at 40 degrees, in the morning, clear and crisp, with the promise of temperatures well into the 80s by afternoon, before dipping back into the 60s for the evening?

If you don't live in the mountains, then maybe you don't. But, that's a perfect summer day in western Montana. And, right on cue, with summer arriving this week, it's the sort of day we're having today.

An afternoon in the 80s did put the kibosh on my idea of baking up an after VBS batch of cookies. That, was okay though, because I've been wanting to try a recipe for no-egg cookie dough, since Christy over at Superheroes and Princesses made cookie dough cupcakes with some (those are on my list, for a less hectic week).

I looked up a few different recipes, and finally decided we could manage one on our own. It's pretty simple, just take your favorite recipe, substitute two tablespoons of milk for each egg called for, and leave out the baking powder, or baking soda, since the dough won't need to rise.

So, making a half batch of the classic, Nestle Toll House Chocolate Chip Cookies, the recipe I ended up with was -


  • 1 and 1/8 cup flour

  • 1/2 teaspoon salt

  • 1/2 cup butter, softened (when I bake chocolate chip cookies, I substitute shortening for the butter)

  • 3/8 cup (or a little less than a 1/2 cup) of sugar

  • 3/8 cup of packed, brown sugar

  • 1 teaspoon of vanilla extract (I didn't cut this one in half, for extra moisture)

  • 2 tablespoons milk

  • 1 cup chocolate chips


Since I was planning on baking cookies, and using shortening, I didn't have butter softened, so I put the cube of butter into a Ziploc freezer bag, and let C squish, and smash it, until it was creamy, and soft.


On a roll, I added the rest of the ingredients into the bag, and resealed it, for a little more squishing, until the dough was ready.


Then, it was just a matter of adding the chocolate chips, a little more squishing...


...and it was ready to eat.


Not that I let her it all, eggs or not, that's still a lot of cookie dough. In fact, the recipe above is just about perfect for six, nice, not-too-big-but-still-enough servings. Plenty to share.


It's great to be a homeschooler.

Tuesday, June 21, 2011

Stars In A Jar

If you're looking for instructions to make glow in the dark, splatter painted, mason jars, like the ones that seem to be the all the rage on pinterest, let me direct you over to Kristy Makes, where there are instructions, and tips, for a good approximation.

I thought they were pretty neat, but I didn't have any glow in the dark paint. Plus, I thought, it would be even better if the stars could move, and swirl inside the jar.

That's when I remembered all those glow in the dark, plastic stars, I stuck under the table, a while back. Most of them were still there, so I pulled them loose, and removed the tape, to use them again.


Then, I dug around, and found an empty plastic jar, removed the label, and filled it with water, and a few of the stars.


At first, I didn't think it would work, because the stars all float right to the top. Below is a mason jar version, I started out with, before I found the plastic jar.


But, C (age 5), thought it was fun to turn the jar over, and back again...


...and watch all the stars disappear under the jar's lid.


And, it was even better in the dark.


Not to mention how cool they look, dancing in circles inside the jar, when you swirl them around.


After I showed it to her, I disassembled it for now, so it will be fresh, new, and still entertaining for her, while we're passing time on the 4th, waiting for the fireworks.

It's great to be a homeschooler.

Monday, June 20, 2011

Chocolate Milk Frosties

Today was the first day of Vacation Bible School for the children. Since, it kind of kicks off summer for us, and is a lot of fun, I wanted to have a special treat ready for them, when they got home.

But, since I also volunteered to teach the third and fourth grade class, this year, I knew I was going to be wiped out by the afternoon, and needed to keep it simple.

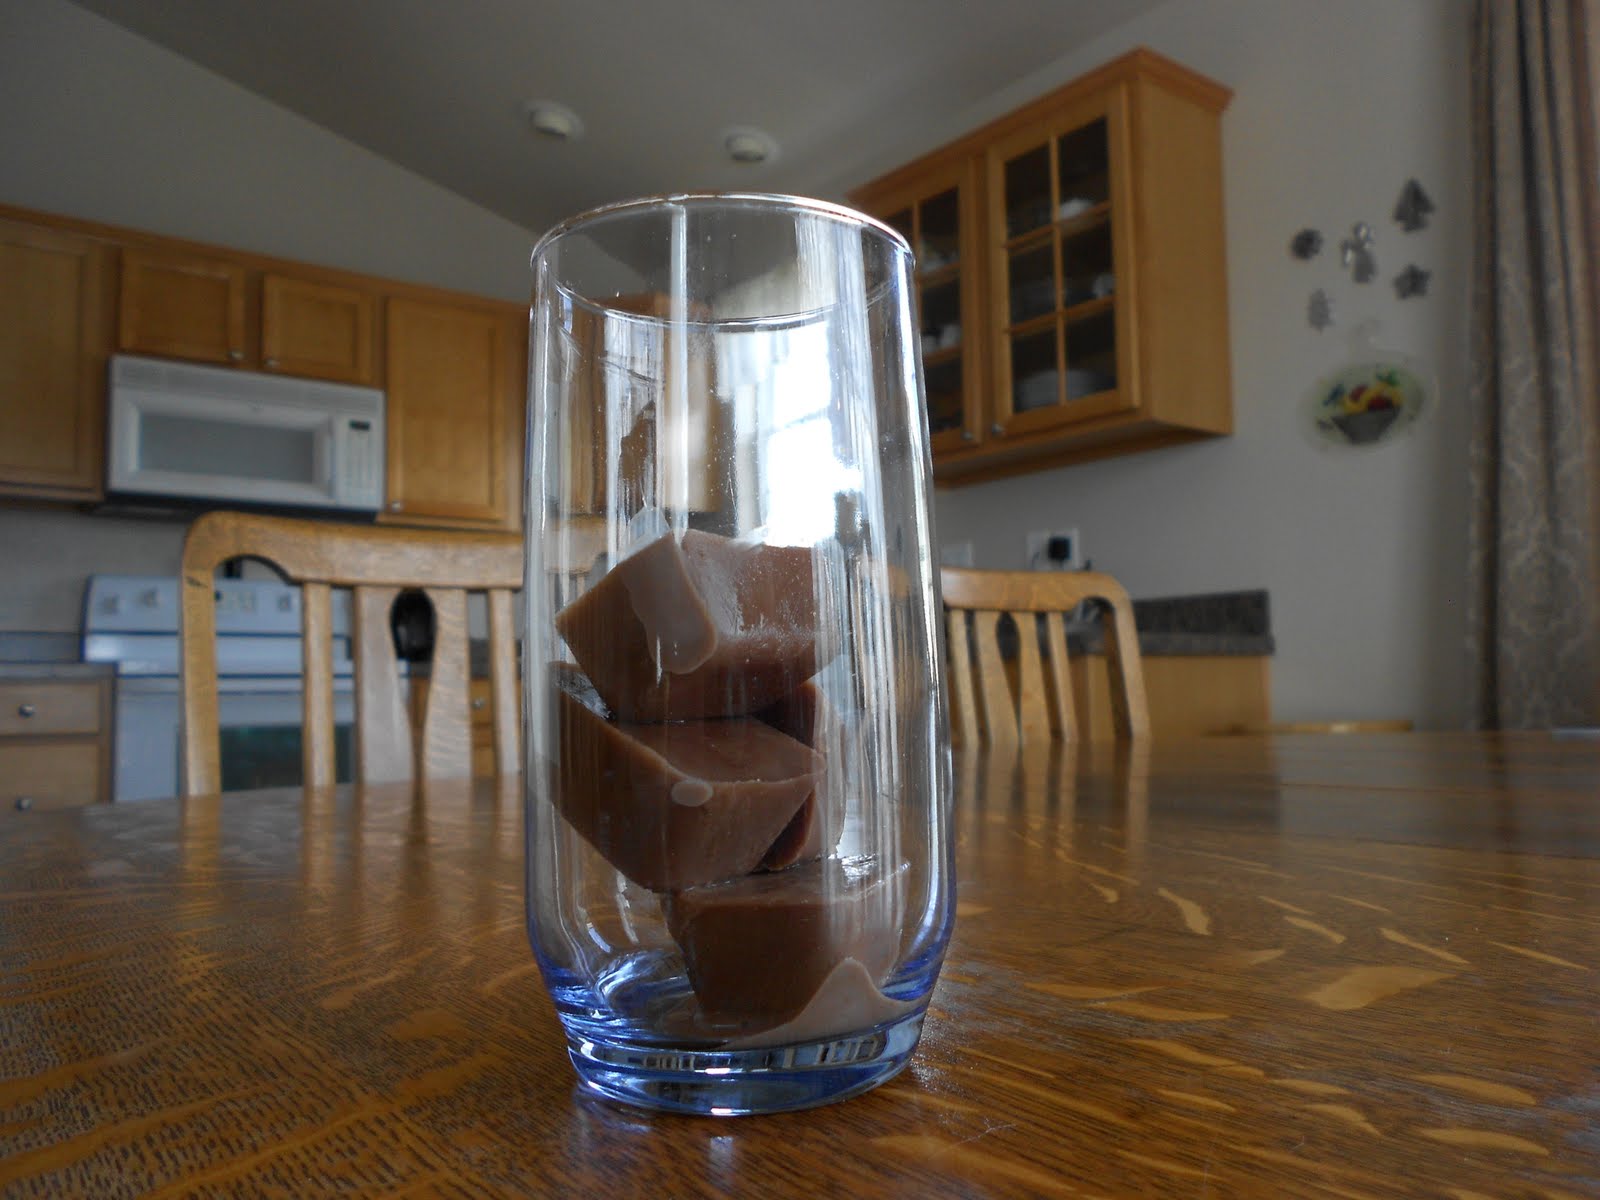
So, this morning, before we headed off for our "Big Apple Adventure", I made a couple of trays of chocolate ice cubes, by pouring triple chocolaty glasses of chocolate milk (we happened to have bought whole milk by accident this week, so that's what I used), into our ice cube trays, and sticking them into the freezer.


This afternoon, before a much needed nap time, I sat the children down, and placed a few of the cubes in each of their glasses...


...poured just enough milk over the chocolate milk cubes, to barely cover them...


...added straws...


...and let the children use them, to tap away at the chocolate cubes...


...until they had something that looked like icy, chocolate milk - it didn't take too long.


Icy, chocolate milk is not a bad treat on it's own.


But, when they sipped off the milky top layer, they discovered glasses full of chocolate, milkshakey goodness, waiting below.


That's even better.

It's treat to be a homeschooler.

Sunday, June 19, 2011

Homemade Marbles


I didn't forget about Folk Toy Fridays, this week, I just delayed it, so I could make some marbles with the children, as a way of sharing a story with them about my father, on Father's Day.

He died when I was nine, so I don't have a lot of stories to share, but I do know he loved to whistle, loved to fish, and when he was a child, he loved to play marbles.

Apparently, he was pretty good at the game, too. According to my aunt, he used to skip class, so he could stay out for recess, to play marbles with the older boys.

My grandparents didn't approve of the truancy, and they didn't approve of gambling. So, when they found out he was playing keepsies, they insisted he return the marbles he had won.

Rather than suffer the embarrassment of having to return his winnings to the older boys, he buried them in the flower beds around his house.

I'm not sure how accurate the story is, but I do know, my mother, who bought the house in later years, has a jar full of marbles, that surfaced one by one, over the years, around her flowers.

Someday, she plans to dole them out to the grandchildren. In the meantime, we made a set of our own, to play with now.

Being a child of the '30s, my father played with the traditional glass marbles, you can buy today. But, long before 19th century, German glass makers invented marble scissors, for molding glass into balls (there's a Dirty Jobs episode about the process, you can view here, on the Discovery Channel), marbles were made of many different things, including clay.

In fact, you can make pretty nice marbles for yourself out of baked polymer clay. Unfortunately, all but a tiny bit of our polymer clay decided to be non-cooperative...


...so we had to use play dough instead...


...which of course cracked when we baked it (I put them in the oven at the lowest setting for a couple of hours until they were dry). The few polymer clay marbles we managed to make, turned out nicely, though.


The children had a great time mixing the play dough colors, and seeing how they swirled, and blended together, as they rolled them into balls. It was really a lot of fun. And, it made for a great backdrop for the story I wanted to share with them, about my father.

Today, we gathered up our marbles, cracks and all, and enjoyed a few rousing rounds of Ringer.


It's great to be a homeschooler.