Showing posts with label sugar cookies. Show all posts

Wednesday, May 4, 2016

Star Wars Sugar Cookies Without Buying Another Set of Cookie Cutters.


We (mainly meaning I) wanted a batch of Star Wars themed cookies for today.  What I didn't want, was to have to buy another set of specialty cookie cutters.  It's not so much that I mind buying cookie cutters.  In fact, I'm rather fond of them. But, our cookie cutter drawer is full, and beginning to overflow into a second drawer, and at some point the madness just has to stop.

However, since we already have so many cookie cutters, I reasoned one or two of them would have to do for the job.  And sure enough, with a little bit (a very little bit) of squishing and pinching of the dough to suggest heads other than a bear (or a gingerbread man's if a bear had not been available)...


...and some careful piping (or as careful as can be when piping from a corner snipped sandwich bag full of frosting) following pictures accompany the proper cutters ...


...we turned out a batch of classic, Star Wars themed, chocolate sugar cookies (dough recipe here) good enough to eat (and make my day at the same time - so double bonus). 

Plus, the teens, who helped with the frosting, thought they could probably come up with a better choice of cookie cutters, to get an even better shape to the cookies for frosting.  So, as soon as time allows, I think we've got a Star Wars themed, cookie smack down in the works.  Triple bonus!

Friday, January 29, 2016

Kung Fu Panda 3 - Cookies and Crochet


We joined friends today, going to see Kung Fu Panda 3, as a sort of impromptu birthday party for their daughter.  It was last minute, but there was just enough warning for me to attempt a quick crochet Po for the birthday girl.


I couldn't find a Po pattern, and so muddled through modifying a free crochet panda pattern from Angie's Art Studio.  The original pattern was a breeze to follow, by the way.  And, just so I don't forget myself - the modifications were: changing colors for the legs, and bottom of the body, to make pants, adding yellow stitches (sewn on) and then looping through red string for the belt, adding an extra round of stitching to the muzzle, and two extra stitches and an extra round to the belly (making 32 instead of 30 stitches in the middle), removing one round of stitches from the ears to make them smaller, and crocheting rounds similar to the ears for the eye patches, with white felt sewn on top.

All the changes made the pattern a little fussier than I would have liked, and the shortness of time meant I had to settle for how it turned out the first time through.  I wasn't completely happy with the results, though now that I look back at the original bear - this one does look more Po-ish.  My children liked him anyway, and the birthday girl held him on her lap to watch the movie, so I guess that makes him a success.

Personally, I had a lot more fun trying to piece together Oreo cookie and M&M pandas for a post movie snack.  They didn't turn out looking anything like Po either...


...but I think he would have appreciated the attempt to craft (and eat) to our potential.

 "If you only do what you can do, you'll never be more that you are now." (Shifu, Kung Fu Panda 3)

Monday, January 25, 2016

Q-bitz Inspired Cookies - Game Night Snacks


We hosted a game night for a group of our friends, on the weekend.  As I was planning out a few snacks and goodies for people to munch on, I decided it might be fun to bake up a batch of puzzle themed sugar cookies (it's been a while since I've had a sugar cookie project to work on).


Drawing inspiration from our Q-bitz game, I mixed one batch of sugar cookie dough, making half vanilla and half chocolate (recipe here), and cut a quick 4''x4'' square of paper...


...and then wax paper, to use as a template...


...for cutting six chocolate and six vanilla squares...


...marked off and...


...cut into one inch squares...


...which could be quickly cut diagonally...


...or punched out in the center with a frosting tip, to mix and match the colors according to the patterns on the sides of the Q-bitz cubes (making enough flat sides to make the patterns for two sets worth of cubes)


I let them bake together, and then cut them apart while they were still hot out of the oven.


Then, once they had cooled completely, I placed like sides into containers on the counter, along with the pattern cards from the game, and one completed "puzzle" as an example.


The only thing I wish I had thought to add, was a short written instruction, so people circulating through the kitchen could have easily understood the purpose of the cookies.  Not everyone is as use to playing with their food as we are.  However, I had a great time putting puzzles together, and munching on the left-overs the next day.

Thursday, September 24, 2015

Owl Cookies - Another Fun Fall Family Tradition


We made a batch of adorable owl cookies, yesterday (click here for the recipe and instructions).


We make them every year as a family, and it's always a hoot.


This year, with Grandma visiting, and a busy day, we were a little discombobulated, and so were our owls.  Not only did I roll the dough backwards (chocolate maple on the inside instead of vanilla).  I see now from looking at the pictures, that we all placed our dough slices...


...upside down from normal, too.


Still, the cookies were yummy, and we enjoyed the tradition together...


...so woo cares about a few mistakes.

Wednesday, January 28, 2015

Chocolate Peanut Butter Woven Heart Cookies


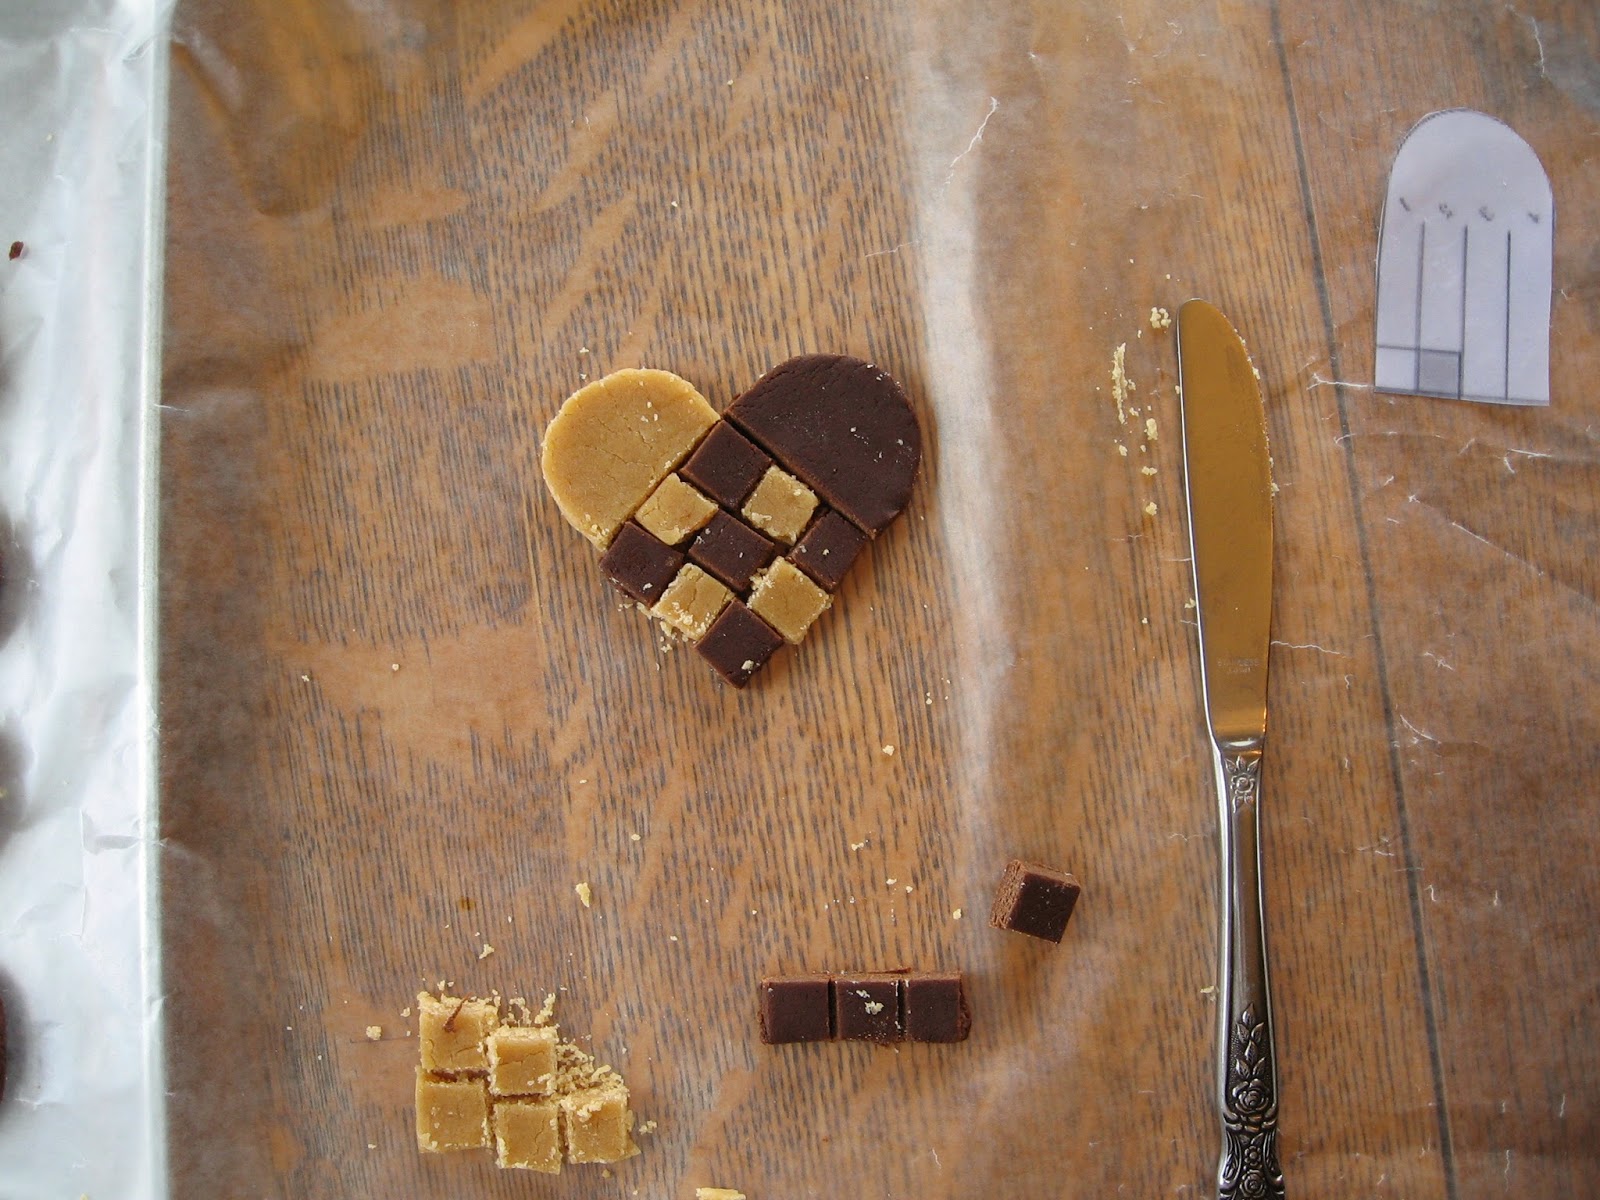
These aren't actually "woven" heart cookies.  In fact, they are really more of a patchwork cookie.  I had intended to weave them together...


...but it didn't turn out to be practical.  The dough kept breaking.  So, after cutting the pieces to match a woven heart pattern (copied off of Google images, though I'm not sure now from which site - there are a lot woven heart patterns to choose from), I ended up cutting the pieces apart...


...and piecing them back together into the checkerboard sort of pattern they would have had if they could have been woven together.


So, they aren't really woven hearts, but they are chocolate and peanut butter...you know..."two great tastes, that taste great together!"


Anyway, to make these, I experimented around, and found I could add peanut butter, and a little extra flour to our usual sugar cookie recipe to end up with peanut butter cookie dough, that could be rolled out and cut like sugar cookies.  To begin with I thought maybe I could just replace the butter with peanut butter, but then the dough (pictured in all the shots here) was too crumbly (although it baked up nicely, and tasted good).  Instead I ended up with the following.

Peanut Butter Sugar Cookies

1/4 cup creamy peanut butter
1/2 stick of softened butter
1/2 cup of sugar
1 egg
1 teaspoon of vanilla
1 and 1/4 cups of flour

and

Chocolate Sugar Cookies

1/4 cup of  unsweetened baker's cocoa
1/2 stick of softened butter
1/2 cup of sugar
1 egg
1 teaspoon of vanilla
1 cup of flour

Mix the doughs separately, starting with the wet ingredients and the sugar.  Then, mix in the flour (and cocoa for the chocolate dough) slowly - stopping when the dough is dry enough to handle.  You might have to mix it
with your hands (rinsing often to keep the dough from sticking to your hands as you mix).  If you add all the flour and/or cocoa, and the dough still seems too sticky to roll out, place it in the fridge for a half an hour, or so, to let it firm up some, or add a little more flour, patting it in from the outside.

Roll the dough. Cut the shapes, and piece together the hearts on a greased cookie sheet.


Bake at 350° F for 13 minutes (in a preheated oven) until they just begin to brown at the edges.

Allow the cookies to cool thoroughly, before removing them from the pan to avoid breaking the pieces back apart.
 

Enjoy with a large glass of milk, and someone you love.  Sadly we were out of milk by the time the Man of the House made it home from work...which reminded us of another old, television commercial.


Apt, if not quite theologically correct.

Tuesday, September 23, 2014

First Day of Fall - Owl Cookies


It's the first day of fall. At our house, that means it's time to make the owl cookies (click here for the recipe and instructions).


Conveniently, they baked up just in time to be enjoyed with the last chapter of Farley Mowat's Owls in the Family.


It's a fun, easy reader about the adventures of boy and his friends, and two owls they rescue on the prairies of Saskatchewan, one summer.  It reminded me of a Canadian Henry and Ribsy type story.  Though I have to admit, that these owl cookies usually bring to my mind another one of Beverly Cleary's classics.


“Susan, your owl is looking at something. What do you think he’s looking at?”
“Um-m.” Susan was taken by surprise.
“Um-m. Another owl?”
How dumb, thought Ramona. He’s looking at a bat, a mouse, a witch riding on a broomstick, Superman, anything but another owl. (excerpt from Ramona the Brave, chapter 5, "Owl Trouble")

Wednesday, September 10, 2014

Fall Leaf Lesson Cookies


After covering the patio with fall sidewalk chalk leaves yesterday, the girls were cold, hungry, and ready for a snack.  I figured they'd appreciate a plate of warm, fall scented cookies fresh from the oven, and so had slipped inside to mix up a quick batch of sugar cookie dough, with a fall twist.

I mixed together our usual 2 cups of flour, 1 cup of sugar, 1 stick of butter, and two eggs, but left out the standard teaspoon of vanilla.  Instead, I divided the dough into fourths, and added a different flavor, and coloring to each portion of dough.


I chose baker's cocoa (about 2 tablespoons), maple pancake syrup (about 1 and 1/2 tablespoons) with red food coloring, and enough additional flour to offset the stickiness of the liquid, instant hot cider mix (about 2 teaspoons) with yellow food coloring, and pumpkin pie spice (about 1 teaspoon) with yellow and red food coloring to make orange.  To be honest, I didn't really measure the add-ins, but just added enough to make the dough smell good.


And, it did smell good - delicious in fact.


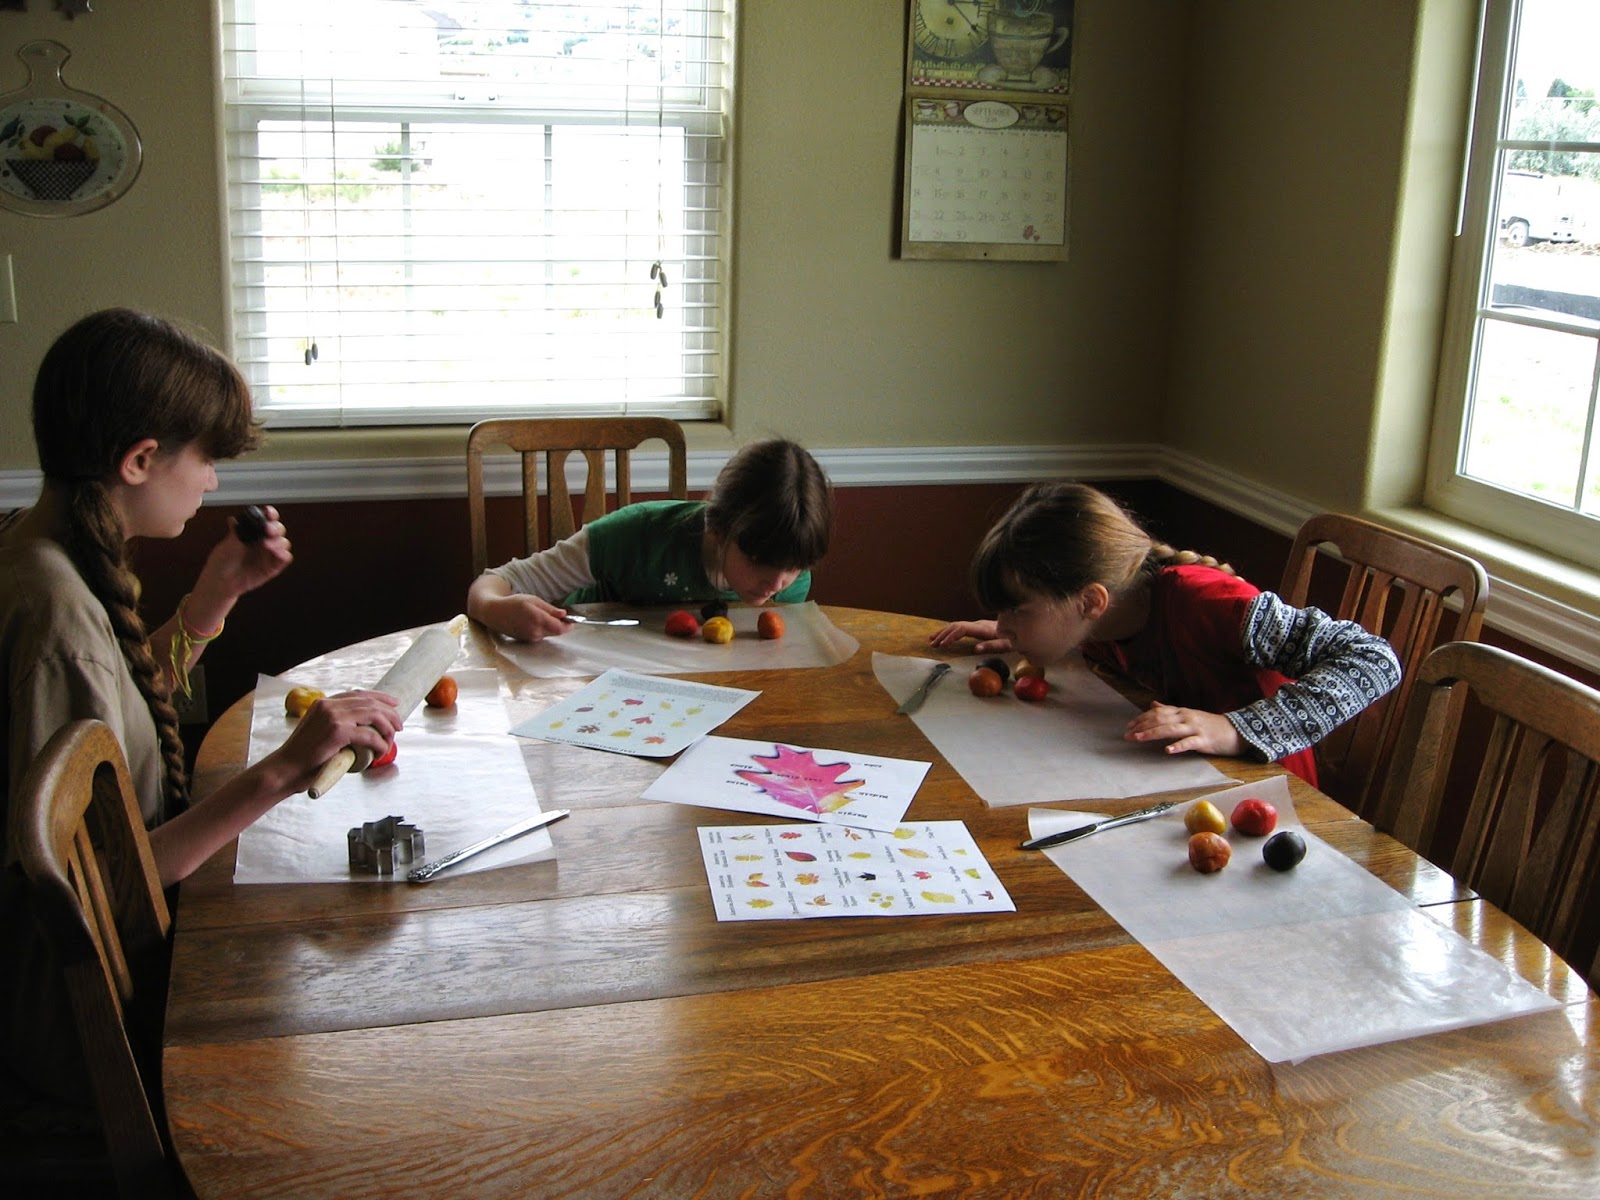
I gave the girls some of each color of dough to blend together, and roll out, along with a few freshly printed fall leaf identification sheets (from here and here) to use as guide for cutting leaf shapes from the dough with butter knives.

They didn't really try to match the appropriate colors to the shapes on the sheets, but did have fun discussing which type of leaf they were trying to copy.  And, thanks to a leaf anatomy sheet from the forestry section of about.com...


...they could name features, such as the midribs and veins, as they added them to their cookie creations.


The cookies smelled wonderful while baking (350°F for 13 minutes).  The children were skeptical about mixing the flavors together, but they blended nicely, and tasted as good as they smelled.


And, here we were thinking that with no trees in our new yard we'd be left without a leaf pile to dive into, this fall.  Problem solved.


Now, we just need to find a local fall foliage guide, so that as the leaves change around town, we can take a drive, and hopefully be able to identify some of the trees that are new to us, in this region of the country.

Tuesday, July 15, 2014

Kandinsky-ish Color Study Sugar Cookies


Another activity on the children's science themed, library summer reading list was to "experiment with mixing colors".   I thought at first I'd just have them jot down a quick description of one of the countless color mixing activities we've done in the past.  But then, I decided to go for it, and plunge full force into a lesson on abstract art.

We've been having a lot of fun with abstract art already this summer by way of scribble pictures, and circle coloring, and such.  And, it just so happens that the father of the movement, Wassily Kandinsky, is especially famous for his "Color Studies" - not just mixing one color with another to make a new color, but placing colors side by side in different patterns to find pleasing combinations of color.

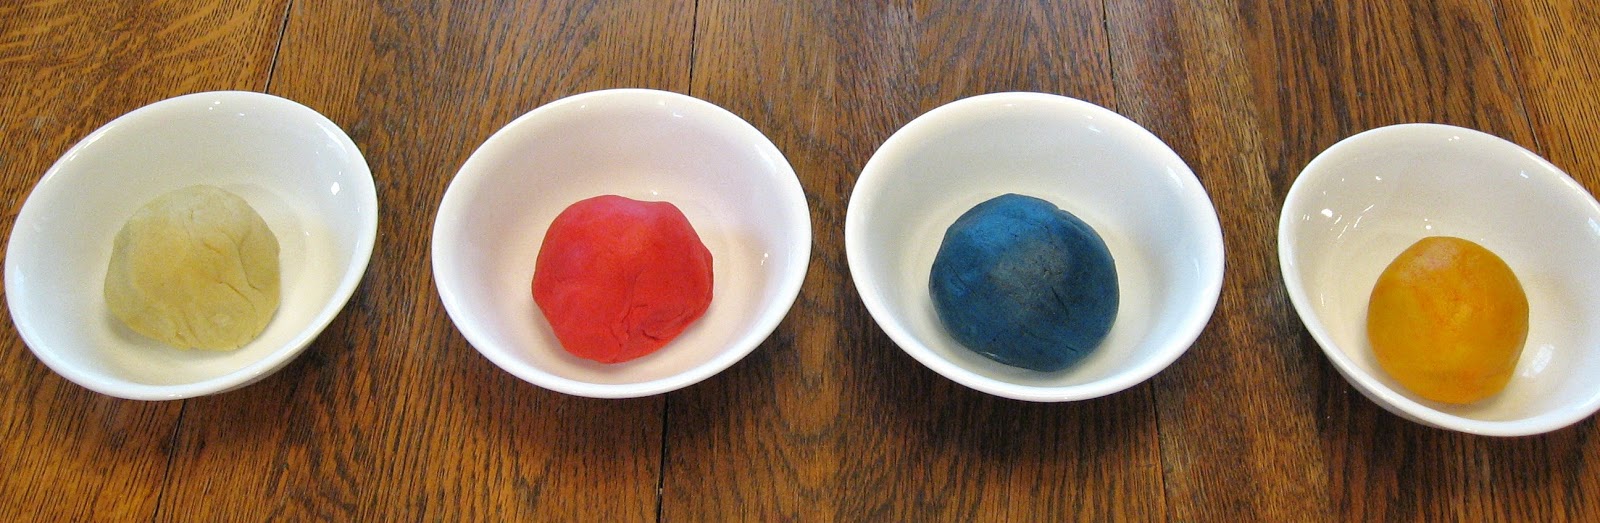
And, since it's been a while since we've done a really big, afternoon encompassing, cookie project it seemed only natural to start with a batch of sugar cookie dough (recipe and baking instruction - here), divided into quarters...


...then colored (with about a half a bottle of food coloring each) 1/4 red, 1/4 blue, and 1/4 yellow, with 1/4 left plain.


I divided the dough up, and gave some of each color to the children...


...to tear off, and squish together to form blobs of new color, large enough to form into...


...quarter inch thick, one and a half inch squares, using a paper square for a guide.  I thought at first, they would roll the dough out, and cut around the paper squares with a butter knife.  But, it turned out to be easier to just pat the dough down by had, and form it into squares with their fingers.


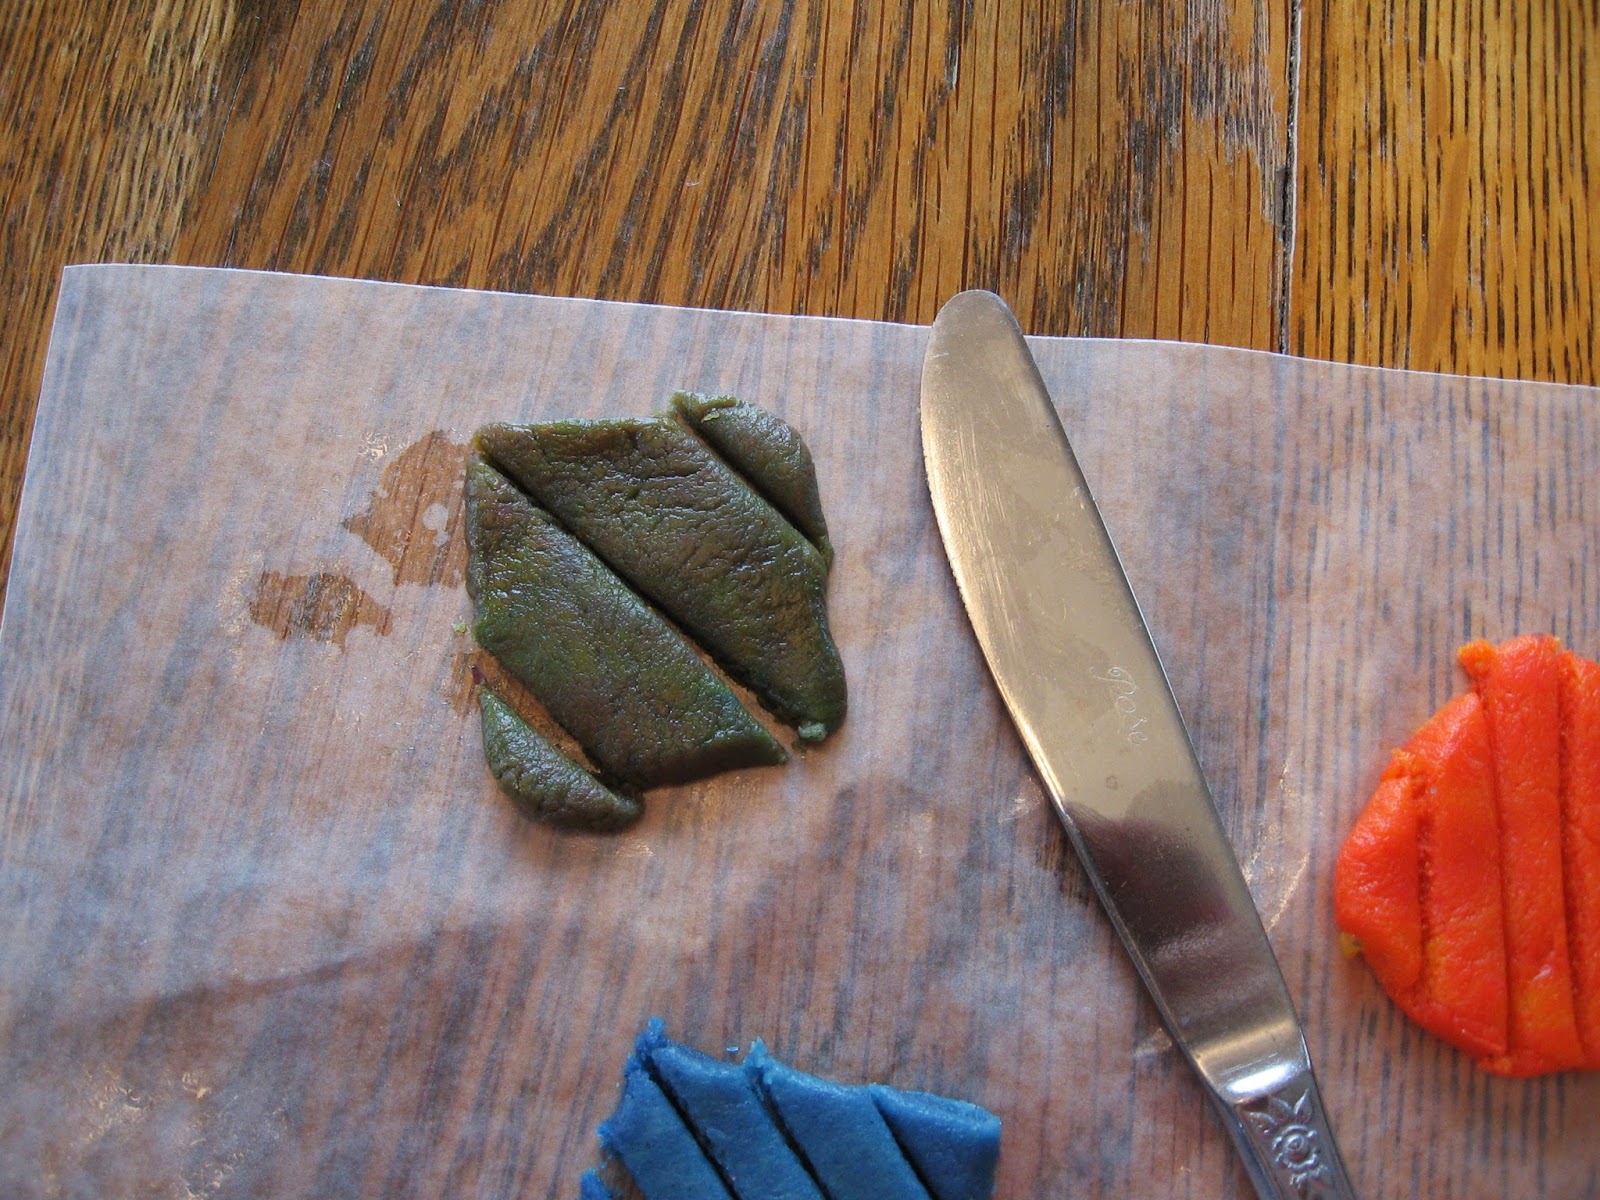
When they each had a number of different colored squares created, they cut them in half...


...then into uneven fourths, by cutting off the corners...


...and finally into six pieces diagonally...


...so they could pull them apart and rearrange them on the cookie sheet...


...in a manner similar to...


...Kandinsky's "Color Studies" (thumbnail photo from Wikigallery.org).


They each made one Kandinsky-ish cookie, and then I let them free form whatever they wanted with the left-over scraps of dough.  My younger girls started blobbing circles together, to make flowers.


When I commented that their flowers looked a lot like Kandinsky's Concentric Circle color studies...


...they decided to leave off the stems, and use up the dough making more of the same.  Which in the end, made for a large number of color combinations to enjoy for a snack.  It's often said that Kandinsky could hear colors...


...we prefer to taste them.


Additional Resources we used:

Clips from YouTube:

"This Is Color: The Study of Light" a 1950's educational documentary.

Art Lessons for Kids: Kandinsky Color Study

Wassily Kandinsky Short Biography student production.

Wassily Kandinsky (1866-1944), paintings put to music.

Books:

Sticker Art Shapes: Wassily Kandinsky by Sylvie Delpech


The Noisy Paint Box by Barb Rosenstock.