Showing posts with label craft projects. Show all posts

Thursday, May 5, 2016

Nerd Box Piñatas


I made up a few very tiny, and pretty quick to make, "piñatas" as a nod to Cinco de Mayo, today, by...


...emptying standard sized boxes of Nerds candies (saving the candy)...


...then deconstructing, cutting, remaking and...


...decorating the boxes according to the same instructions you can find all over Pinterest or Google for making cereal box piñatas...

...with the only differences being:

  • everything was smaller
  • I used clear tape on the boxes instead of painters tape (because that's what I had)
  • I fastened the crepe paper to the box with a glue stick instead of double sided tape
  • and I left the nose open instead of the feet for filling...


...and pouring.


Happy Cinco De Mayo!

Tuesday, May 3, 2016

Color-Your-Own Star Wars Themed Weeble Wobble-type Craft - May the 4th be With You


I pulled up a craft from our past (homemade weeble wobble-type toys) to combine with a Star Wars themed tutorial from Frugal Fun for Boys, as a craft for tomorrow's festivities (May the 4th be with you).

To start, I turned a few of our left-over plastic eggs into blank, weeble wobbly type guys (they wobble around but don't fall down - like their name sake), by filling the bottom of the eggs with non-drying clay...


...snapping them closed, and covering them paper mache-style in a couple of layers (first newspaper, and then white) of paper strips dipped in watered down glue, smoothing the paper out as much as possible while it was still wet.


I left them to dry (turning them over a few times) balanced on top of an egg carton.


When they were completely dry, I penciled an outline of our favorite Star Wars characters onto each wobbly egg (following the Frugal Fun for Boys patterns) for the children to use as a guide, and placed them out on the counter with a pack of permanent markers (for ease of coloring, and so the color won't come off on hands once dry)...


...ready to be part of tomorrows fun.

Sunday, January 3, 2016

The Eiffel Tower String Trick - Step by Step


I decided it would be fun to teach the younger girls how to do the Eiffel Tower string trick as a follow-up to our New Year's Eve pretzel tower (which I should say was as much fun to demolish and eat as it was to build).

Of course, before I could teach the girls how to make the tower out of string, I had to learn the trick myself.   Thankfully we're still on Christmas break, because it took me pretty well an entire day to successfully master the steps. 

I started out watching a YouTube video from WhyKnot.  Then, realizing the tower was really just Jacob's Ladder turned and pinched together, I switched over to YouTube instructions for Jacob's Ladder from MomsMinivan (love those names!). Still a little confused on a couple of the steps, I decided to search out some still pictures, the best of which I found in a string trick book on Slide and Share, except that with my hands wrapped in string, I kept advancing the page too far, and sliding right out of the directions I wanted.

Between the three, I did eventually master the figure elementary school children have been creating with ease on playgrounds around the country for years.  There's nothing like attempting a child's game for promoting humility.  Anyway, after all of that, I thought I'd add one more set of pictures and instructions to the mix, for all the visual learners like me.

The Eiffel Tower:

Start by draping a loop (made of string long enough to wrap two and a half times from your hand to your elbow) a across your palms as shown.


With the index finger of one hand, go under and hook the string running across the opposite palm with hands palm facing palm...


...and pull it back...


...then repeat the step with opposite hands...


...to form what is called an "open A".


Drop the string off of your thumbs...


Then take your thumbs...


Reach under all the strings, hook the last string and pull it back on your thumbs...


Then, reach over the nearest string on the pointer finger with your thumbs and under the farthest string on the pointer fingers...


...and pull that back too, giving you two strings looped on each thumb.


Next, drop the loops off of your pinkie fingers.


Use your pinkies to reach over the string nearest them, and under and into the loop around the thumb...


...and stretch your pinkies out with the string.


Drop the string off of your thumbs.  This makes the "Cat's Whiskers" by the way.


 Reach over the string wrapped around your pointer fingers with your thumbs, and under and into the loops on your pinkies...


...and pull your thumbs back with the string.


Being careful not to lose the loops on your fingers, use one hand to take the loop from the opposite pointer finger..


...and stretch it over the thumb of that same hand.


Then take the original loop (now on the bottom) from the thumb...


...and lift it over the loop shared with the pointer finger, and off the thumb.


Repeat the steps on the other hand...


This will create a triangle in front of each thumb. 


***The next steps are tricky, and need to be done in one fluid motion***

Bend your index fingers down into the triangles...


...drop the string off your pinkies...


...and turn your palms away from you.  Now you have Jacob's ladder.


Keeping your hands close enough together to keep the string loose (this is important), rotate the figure, and pinch your top pointer finger and thumb together to make a tower.


And, if you happened to be using glow-in-the-dark yarn, turn the lights off, for an illuminated, night time in Paris effect.


Bon courage!

Saturday, October 24, 2015

I Can't Believe We Never Played with Cloud Dough!


I feel so cheated.  How could we have missed out on something so fun, so tactilely tantalizing, so messy?  And I suppose, I just answered my own question. 

Worn out from cleaning up all the other messy play experiences, and lulled into a sense of "it's just one more in a series of dough" kind of mentality, when my own children were toddlers and preschoolers, and I saw the recipes for cloud dough sweeping across the blogosphere, I decided to skip it.

My Sunday school lesson, for the preschool class, tomorrow, is on Elijah praying for rain though, and cloud dough seemed to make sense as a "creative play" go-along.

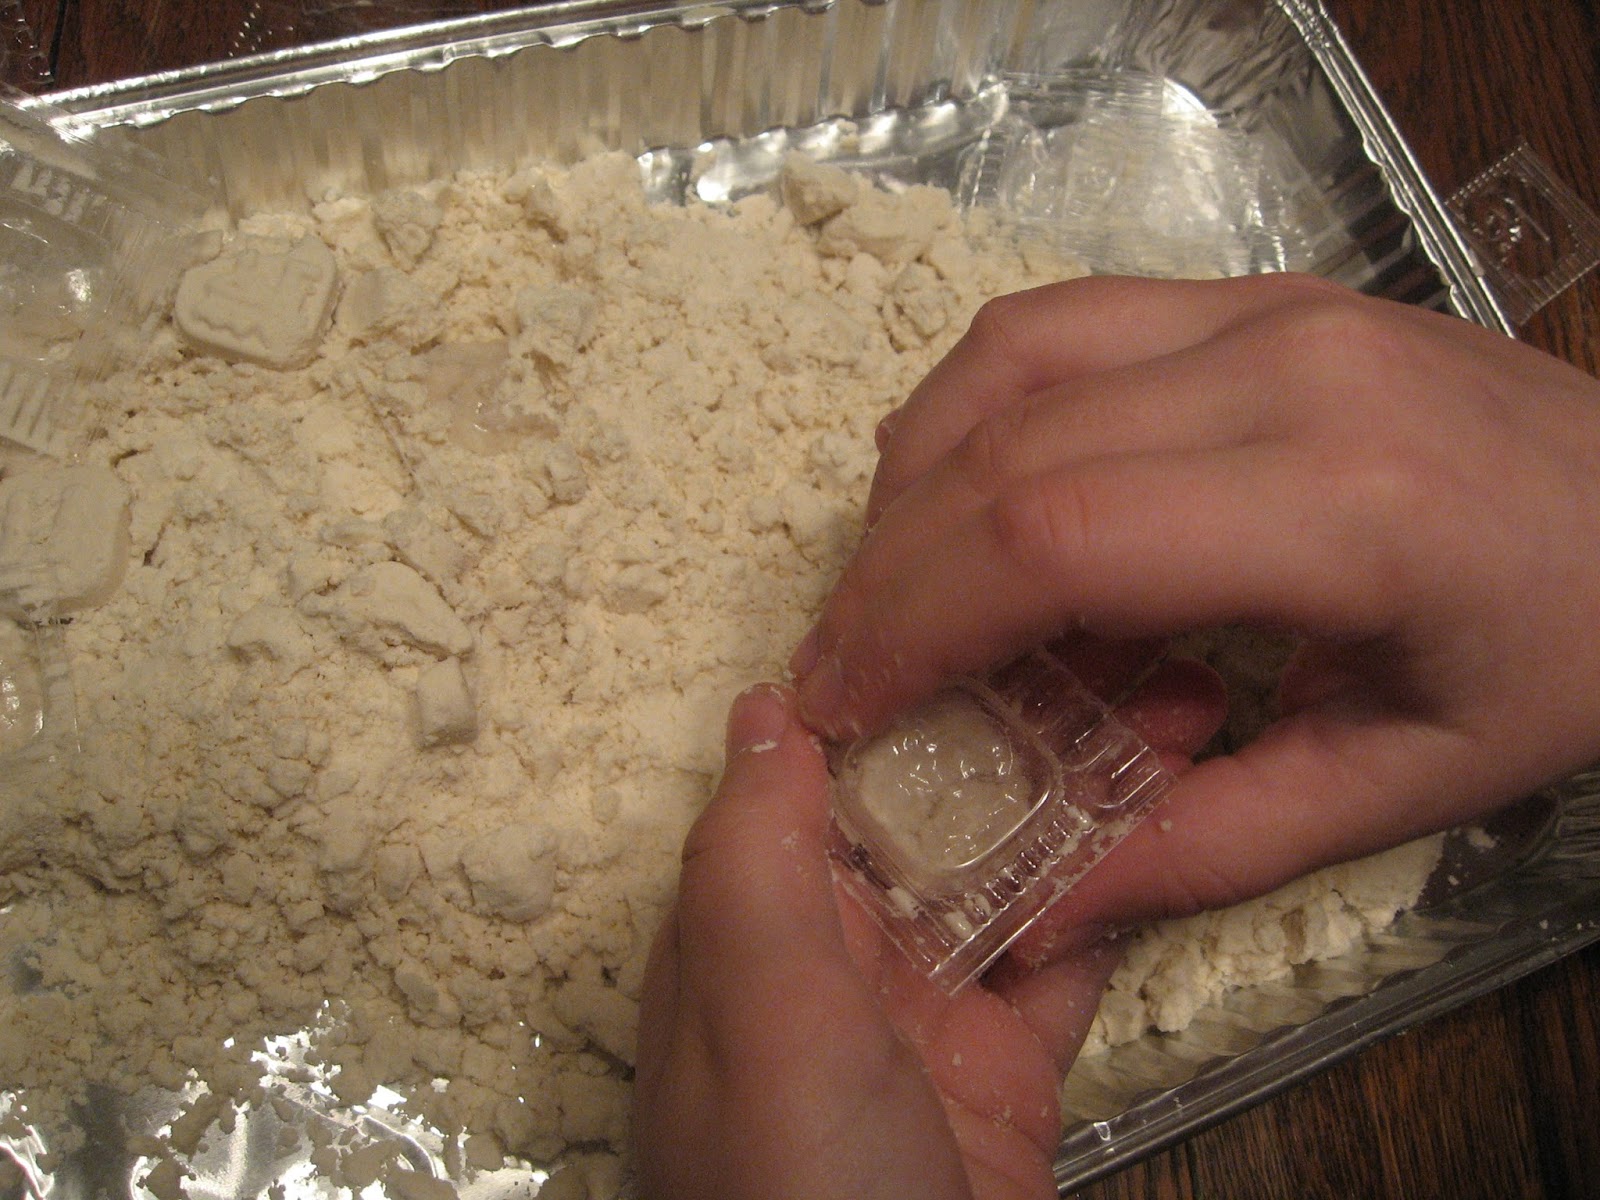
I found myself mixing up a test batch, tonight.  Most recipes call for 1 part baby oil to 8 parts flour (so 1/4 cup of oil for 2 cups of flour).  I substituted vegetable oil for the baby oil, because it's what we had on hand - and it seems to be working well.


It's a moldable dough, that holds together when squished, but falls back apart when crumbled or smashed.  Which is so much more enjoyable than it sounds - trust me!

I cut up a mold sheet from one of last year's advent calendars to press our dough into...


...C and E (ages 9 and 10) added a couple of paper cups...


...and we've been playing happily all evening.

Making up for lost time.

Friday, August 28, 2015

Skeletal System Sewing Cards


Science is one of those subjects, that we're on the fence when it comes to unschool or not to unschool.  I generally like to follow the children's (or my own) interests into explorations and experiments, but I also like to keep an undercurrent of structured study going at the same time.

To that end, last winter and spring, I had the children reading a science page a day from Dorling Kindersley's Knowledge Encyclopedia (known in our house as "The Great Big Book of Everything"), and then following up their reading with a BrainPop video to match, capped off by the accompanying BrainPop quiz (more to hone their study skills than to actually test their knowledge).

Picking up this fall where they left off last spring, they've been reading about the human body, and yesterday read about the skeletal system.

As a quick go-along activity for my younger girls (ages 9 and 10) I decided to put together sewing cards, by printing a couple of labeled diagrams of the human skeleton...


...gluing them to cereal cardboard, and punching holes through, here and there (clearly taking some liberties where bones form circles, or are very tiny)...


...for the girls to sew through with some of the glow-in-the dark yarn we picked up earlier in the summer (a double strand works best).


So they can see their finished work, with labels, when the lights are on...


...or without labels, when the lights are off.


They glow so much better than the picture shows, too.  I'm completely geeking out over them.