Tuesday, June 24, 2014

Summer Fun 2014 - Covering the Driveway in Sidewalk Chalk Starbursts


An empty driveway...


...a box of chalk and...


...a simple starburst design...


...adds up to a morning of fun in the sun...


...and a "front yard" art project even the Man of the House won't mind (those can be hard to come by around here). 

The girls had plans to cover the entire driveway, but being out front meant they were quickly joined by the neighbor girls, who found the project interesting - for a few minutes...


...but thought maybe popsicles in the back yard might be an even better idea.

Monday, June 23, 2014

Summer Fun 2014 - Rubber Band Racers


We were challenged by a post from Planet Smarty Pants to exercise our engineering muscles, and build something.

The girls decided on rubber band racers, loosely following instructions from PBS-Kids' Design Squad Nation.

I worked with C (age 8) on hers.  E (age 9) was determined to design, build, and decorate her own car, after a very short lesson on how rubber band racers work.

We deviated from the PBS plans somewhat, using cardboard tube bodies, instead of flat sheets of cardboard.

And, we cut our rubber bands in half, so we could tie one end to the front axle, securing it with a piece of tape to hold it in place, as well as to make it possible to twist the band around the axle with a turn of the wheel.


The other end of the band was slipped through a slot cut at the back of the car...


...and taped on the outside.


The girls went on a search through the house to find toothpicks, straws, and wood skewers for axles, and anything that would roll, for wheels.  They tried out old, scratched up CD's, sturdy paper plates, circles cut from cardboard, milk caps, and even the bottoms of Dixie cups.


When they were happy with the basics of their designs, and had everything pretty well stuck together with yards of tape, and a little play dough thrown in for good measure, they went to work decorating their cars...


...for a Polly Pocket race.


I cut out a small square from the top of each car, with a razor blade, so the girls could slip in the dolls, before winding up the rubber bands, and setting them loose...


...to race back and forth across the kitchen floor.


They decided the winner was the car, that not only traveled the farthest, but did so in the straightest line...


...had the most stylish design...


...and was sturdy enough to stand up to...


...a crash, or two.

Sunday, June 22, 2014

Summer Fun 2014 - How to Pop a Water Balloon With a Magnifying Glass (Take 2)


The sun finally decided to come back out from behind the clouds, and we were able finish up our water balloon, magnifying glass investigations.


First off, we confirmed again, that while we could not heat the water inside the balloon as we had by holding a water balloon over a flame (click here to read about that), the balloon still would not pop, like our air-filled balloons had, with a direct beam of sunlight focused on it, unless...


...we focused the sunlight directly onto the air bubble inside the water balloon.


Then, the balloon burst as instantly as our air filled balloons had before, but with a sudden splash instead of the ear splitting "pop".

Once you focus the beam of light onto the air bubble, the balloon pops almost instantly, drenching the person doing the popping, and startling everyone else.  It's a little like playing with a Jack-in-the-box, terrific fun if you have the nerve for it.

Saturday, June 21, 2014

Summer Fun 2014 - Painting with Pollen.


For a quick 10 minute lesson exploring natural pigments, try painting with pollen.


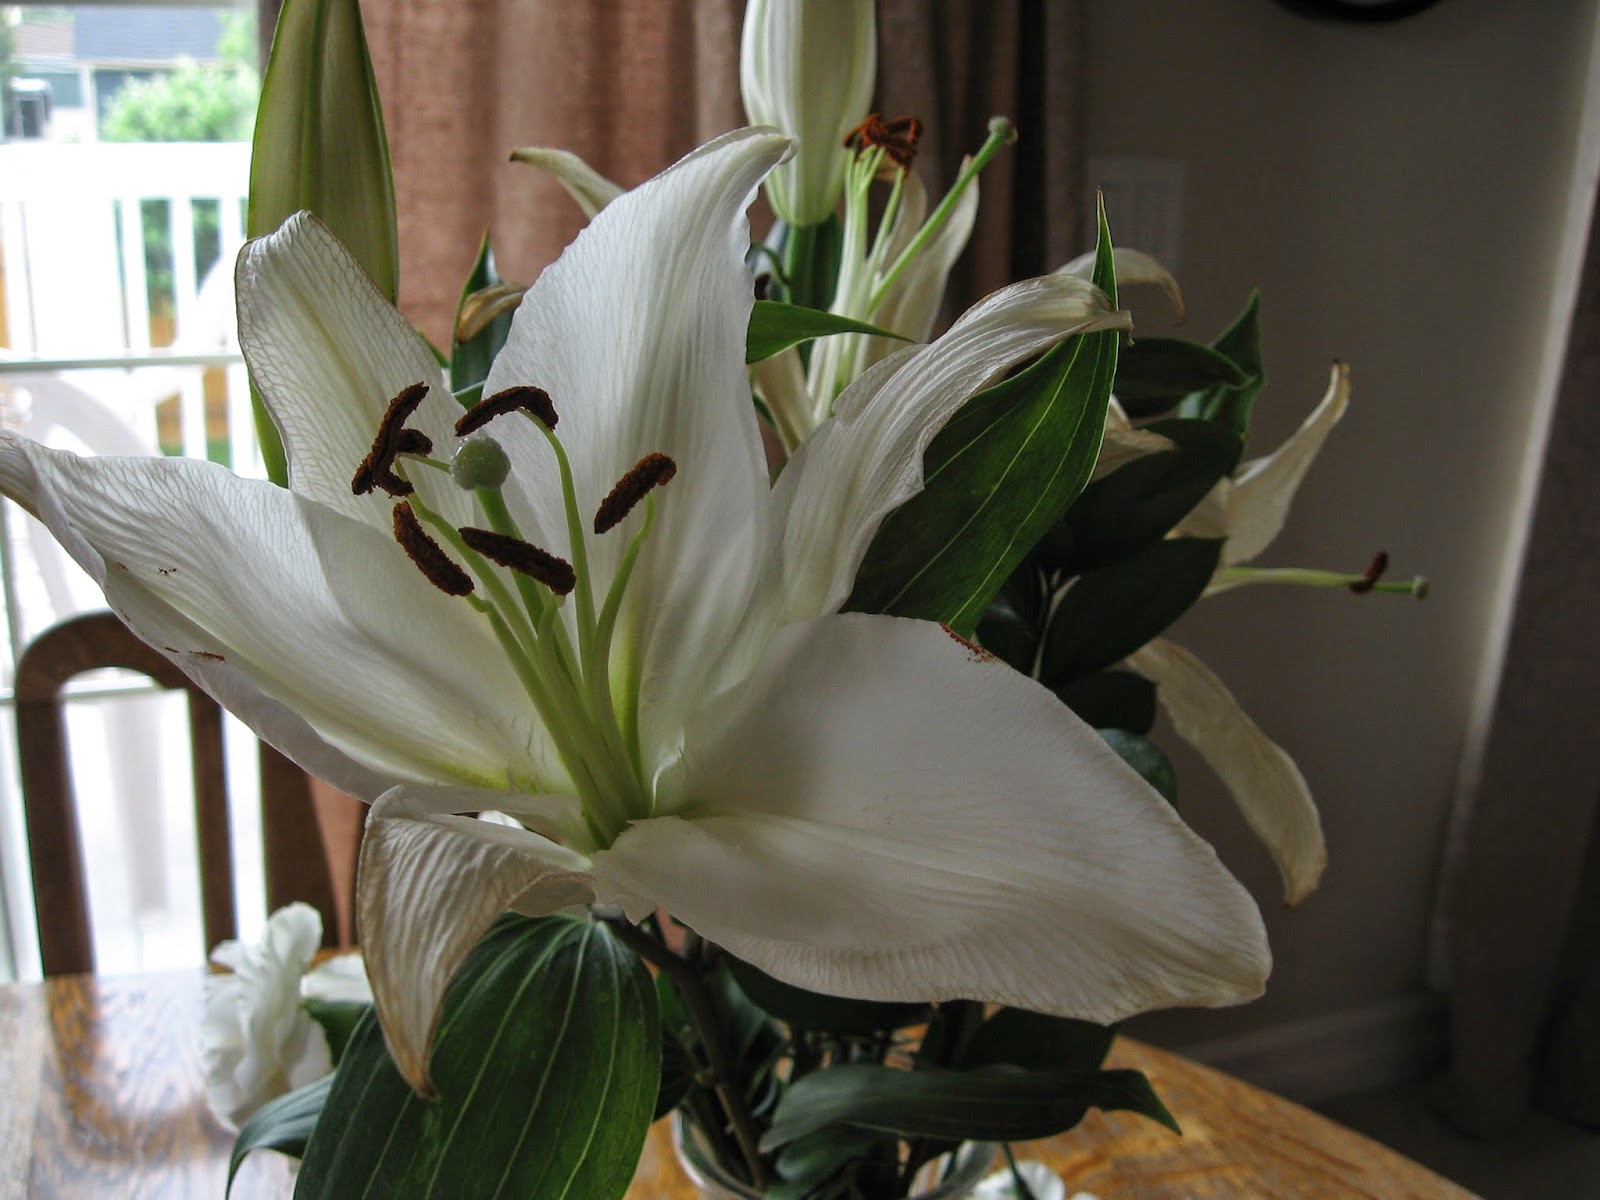
We've experimented with sunflower pollen mixed with hand soap in the past.  This week, we discovered lily pollen (the powdery stuff on the anthers of the stamen)...


...mixed with vegetable oil...


...makes a pretty interesting...


...paint as well.


Painting on typing paper, with wax paper underneath...


...to protect the table...


...the paint appeared to be a mustard brown.


But, held up the the window it was a bright, sunshiny yellow...


...just right for the first day of summer.

Friday, June 20, 2014

Inspiring Summer Reading - Nonfiction Reading For Facts


I had a second grade student in school this past year, who despised reading, but loved science.  Instead of spending my time with her, sounding out words in the recommended reader, we did simple science experiments (usually from the back of a Magic School Bus book).  She read the instructions out loud, and we worked through the steps together, and she loved it - reading and all.

It's a technique I've used often at home.  Science experiments, and recipes for that matter, whether they come boxed in a kit, or out of a book, call for very careful reading, and good comprehension skills.  It's not reading for entertainment, but for information - a type of reading we engage in every day.

Which is why, when the younger girls showed some interest in turning the extra cream we had left-over from our tapioca tasting into homemade butter, I gave them written instructions, printed from Scientific American, to follow.

I could just as easily have told them what to do.  Butter churning know how is one of the prerequisites to being a homeschool mom, after all, right up there with baking homemade bread.  How else could we make it through all those Little House on the Prairie unit studies?  But if I had told them what to do, I would have missed out on a golden opportunity to trick them into to inspire summer reading.

 
Normally my 8 and 9 year old girls would never consider perusing the pages of a layman's scientific journal, much less carefully reading through a three page article with no pictures to speak of.  But, with butter making in the balance...


...it was all fun and games.


E read aloud...


...while C carried out the instructions.


When their results were questionable, they consulted the pages instead of the mom...


...and were encouraged to continue on to success by themselves, thereby...


...honing their reading skills, engaging in a mini-science lesson, using up our extra cream, and providing me with yet another excuse to pull out the Lego minifigure mold.


Lego stud silver dollar short stack, anyone?

It's great to be a homeschooler.

Thursday, June 19, 2014

Summer Fun 2014 - Kool-Aid Candy Clay - Moldable Candy Creations


We gave our favorite no-bake tootsie-roll recipe a summer make-over, replacing the cocoa powder with unsweetened Kool-Aid mix for a brightly colored, fruity clay, that tastes a little like Skittles, and is as much fun to play with as it is to eat.

Kool-Aid Candy Clay

1/2 Tbsp softened butter
1/4 tsp vanilla, extract
3 Tbsp powdered milk
2 Tbsp light corn syrup
1/2 tsp unsweetened Kool-Aid powder
1 cup powdered sugar
Food coloring, optional.

Stir the butter, vanilla, powdered milk, corn syrup, and Kool-Aid powder together in a medium to large mixing bowl.  If the color of the Kool-Aid alone is not quite as bright as you like, you can add a drop, or two of food coloring at this point, or knead it in at the end. The orange, pink and purple batches pictured here, did not have any food coloring added.

Mix in the powdered sugar 1/2 cup at a time, gathering, mixing and kneading the dough with your hands at this point.  

Continue kneading the sugar into the dough until it is play dough like, and not too sticky.

Work, and roll the candy dough out on wax paper sheets, lightly coated with powdered sugar...


...to form...


...all sorts...


...of fun...


...candy creations.


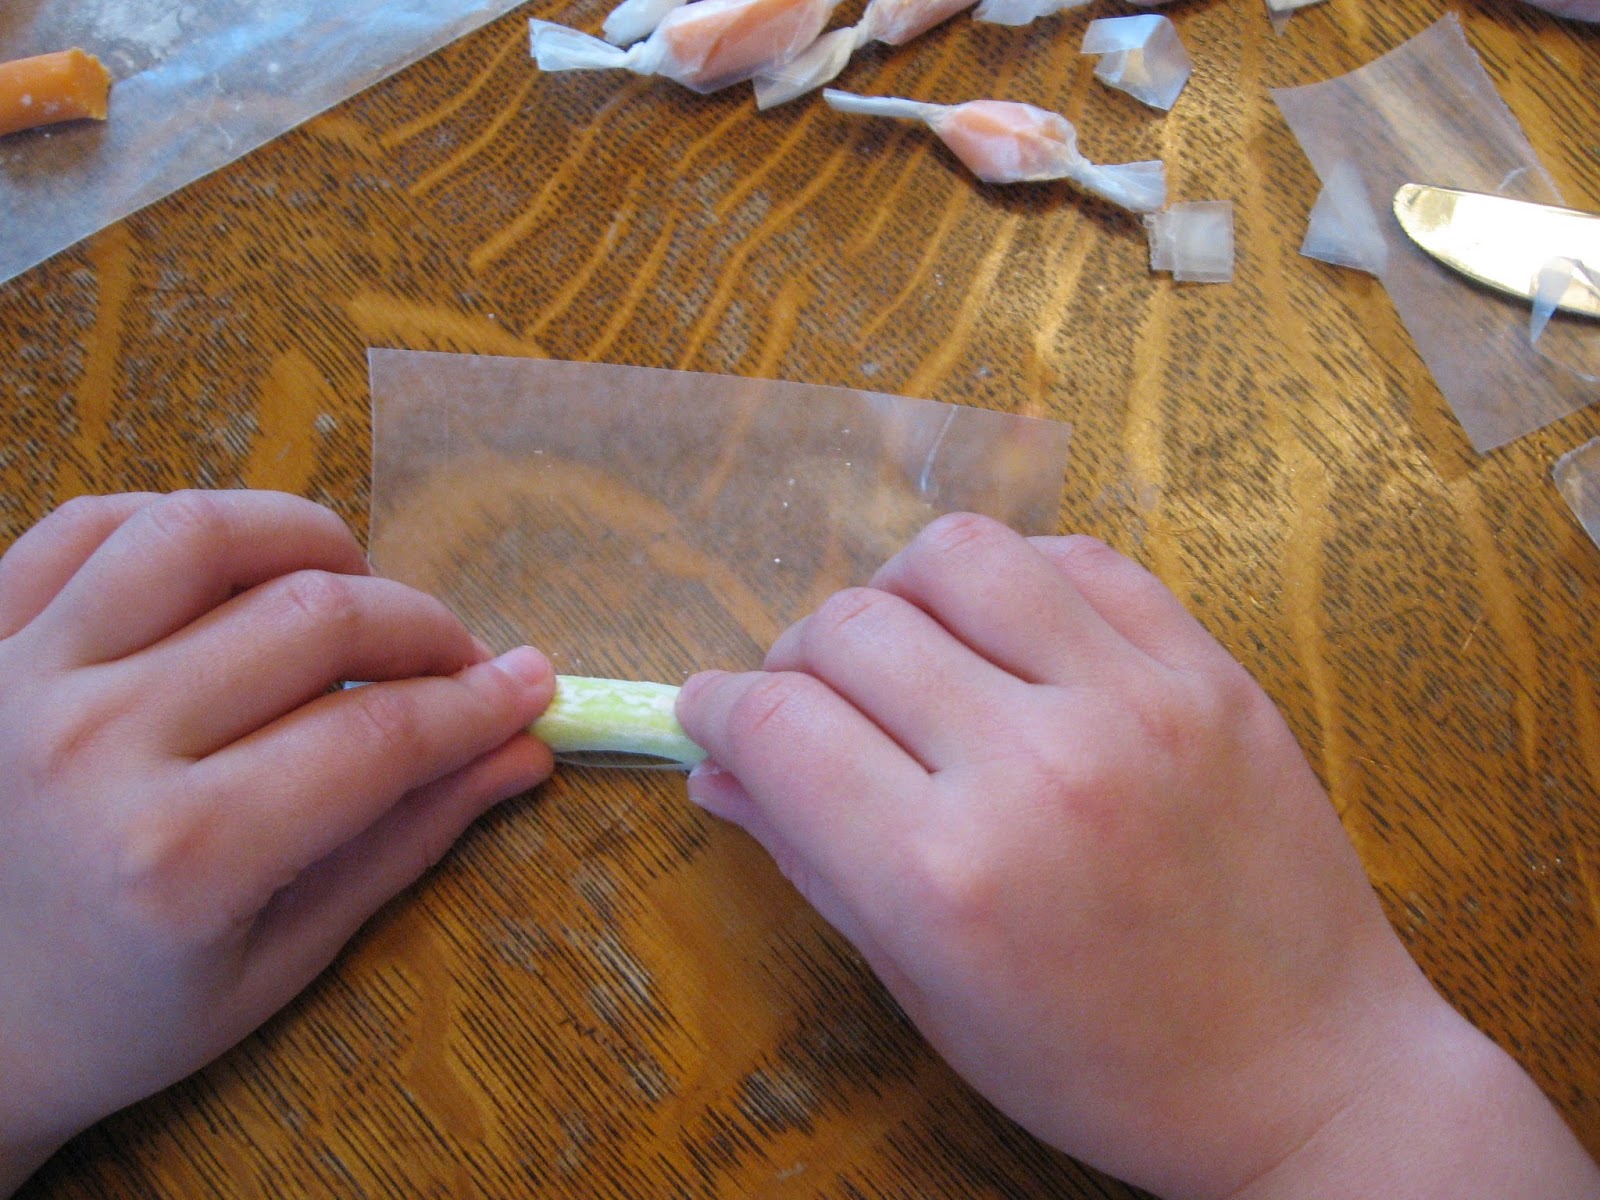
Leftover dough can be rolled into ropes, and cut into pieces...


...for wrapping up...


...tootsie-roll style in wax paper squares...


... for later.


Wrapped candies can be stored in the refrigerator, or at room temperature, keeping in mind the shelf life of butter.  Dusted lightly in powdered sugar, the candy does not seem to stick to the wax paper wrappers.