Monday, November 19, 2012
Washable, Color Your Own Doll, Craft
Here's one for those of you scrambling to craft up a homemade Christmas, or trying to put together a few extra gifts to have on hand.
This time of year I start sorting through my craft closet, with potential presents in mind, which is how I happened to find myself sitting in front of my archenemy - the sewing machine - with a scrap of white fabric, left over from some forgotten craft project or other, just waiting to be turned into a doll. My sewing skills are sadly insufficient to the task, so the little dolls I came up with are sort of strange, but the girls loved them - so no judging!
I had them draw large paper dolls for me...
...to cut out, and trace onto the fabric...
...as a pattern (two for each doll).
Then, I sewed the pieces together...
...and stuffed them with polyfill. If your sewing skills are as lacking as mine, I would suggest using a nice simple doll pattern, in a largish size, for slightly more normal looking dolls.
But really, my girls didn't seem to notice how oddly shaped, and lumpy their new dolls were, once I handed them the pack of washable markers...
...and told them they could draw the faces, hair, and clothes on for themselves.
We let the marker dry for a few seconds, before the played with the dolls...
...and much to my relief, the dry marker didn't come off on the girls' hands, but did rinse right off in the washing machine, in cold water (it might take two washes, depending on the colors used)...
...creating a clean slate for the girls to decorate again.
Not too bad for a scrap of cotton fabric, a couple of handful's of polyfill, a box of markers, and a rather frustrating hour, or so of sewing time. I'm even thinking a couple of the old pillowcases taking up space in the linen closet might have to become color-your-own dinosaurs in time for Christmas, evil sewing machine, with it's wicked empty bobbin, not withstanding.
It's great to be a homeschooler.
Saturday, November 10, 2012
Homemade Holiday Scented Crayons
C was busy coloring in a sheet of gingerbread men, when she commented on how much better it would be if her picture smelled like gingerbread too, and I thought...
...why not? We've made scented everything else - play dough, finger paint, even wrapping paper...
...why not crayons? There are plenty of posts out there with instructions for melting, and remolding your children's left over crayon bits. I usually go for the melt-in-the-oven method, but this time I tried out the fast and easy crayons-in-a-can-placed-in-a-bowl-of-boiling-water...
...but added in a few shakes of cinnamon...
...what amounted to about 2 teaspoons of spice per four or five crayons worth of bits...
...before melting the crayon, and pouring the scented wax into a mini cookie cutter with the bottom wrapped in tinfoil...
...to cool and harden...
...into a festive shape.
We followed our cinnamon crayon up with mint (made with two teaspoons of mint extract added to green crayons), and hot chocolate (made with a couple of teaspoons of hot chocolate mix added to brown crayons). I was all set to make up a black licorice crayon, when I realized I was all out of anise extract, and so decided to call it a night.
I'm sure any of the oils designed for making scented candles would probably work to make scented crayons just as well, but I love finding things right in my own kitchen that can be reworked into fun little presents like these.
You can really smell the mint and cinnamon, even on the paper, though the chocolate is a little more subtle. I had the Man of the House give them a quick, blind-folded sniff. He identified the mint right off, and the cinnamon after a second smell, but he guessed the chocolate was vanilla - still a nice scent.
Needless to say, C was thrilled to be able to draw mint trees with cinnamon ornaments and chocolaty...or at least sweet smelling...trunks.
Happy fall from Almost Unschoolers!
Friday, August 3, 2012
Watermelon Fudge
For National Watermelon Day (no I'm not kidding), we loosely followed a recipe from Something Swanky, to transform the traditional 3 minute, 3 ingredient fudge we like to make at Christmastime, into a summer delight...
...by melting together sweetened condensed milk (14 oz), white chocolate chips (3 cups), and watermelon flavored candy oil to taste (we substituted a strawberry, watermelon water enhancer, because that's as close as we could come to a watermelon flavoring) in the microwave for...
...a minute and a half, or until the chips are completely melted, stirring after every thirty seconds...
...then dividing out a small portion (about 1/3 of the total) into two bowls, adding green food coloring to one bowl, leaving the other white, and dyeing the remaining portion red (with food coloring, and a few extra squirts of flavor if desired)...
...before layering them into a small loaf pan (we used a regular size loaf pan, and had to make additional red fudge, in order to make it thick (as in deep) enough, unfortunately adding too much sweetened condensed milk to the second batch, making for a gooey top, which you'll see in the pictures to come, but doesn't reflect on the original recipe), green first...
...then white...
...and red...
...allowing an hour in the refrigerator for the fudge to set up, before removing it from the pan...
...to slice into strips, and then wedges (every other one of which will look like a watermelon wedge, and all of which will taste good)...
...and top with mini chocolate chip "seeds".
Happy National Watermelon Day!
Thursday, August 2, 2012
Crochet Koala
I was in a crochety kind of mood today, and came across a link on Craft Passion to a super cute, simple and quick to crochet pattern for a amigurumi koala from Woman's Day Magazine, that will work perfectly as a gift for one of C's friends' upcoming birthday.
Craft Passion offers a few hints and variations for putting the koala together. I pretty much followed the original pattern, except I found the ears and nose as written, turned out a little small, and not the usual rounds of an amigurumi pattern, so I reworked them as follows, just for personal preference.
Ears (make 2):
With white yarn -
Ch 3, slip stitch through the first ch to form a loop.
R1 - Make 4 sc into the center of the loop (4 sc).
R2 - 2 sc into each sc around (8 sc). FO.
R3 - Start grey yarn with a slip stitch in the first sc, then 2sc in that same sc, and one sc in the next sc around (12 sc).
R4 - Sc in each sc around (12 sc). FO, leaving a tail for sewing onto the head.
Weave in remaining loose ends.
Nose:
With black yarn -
Ch 3, slip stitch through the first ch to form a loop.
R1 - Make 3 sc into the center of the loop (3 sc).
R2 - 2 sc into each sc around (6 sc).
R3 - 2 sc into first sc, 1 sc in the next two sc around (9 sc). FO, leaving a tail for sewing on.
Sew the nose onto face with one corner of the three sides facing down.
It's great to be a homeschooler.
Wednesday, August 1, 2012
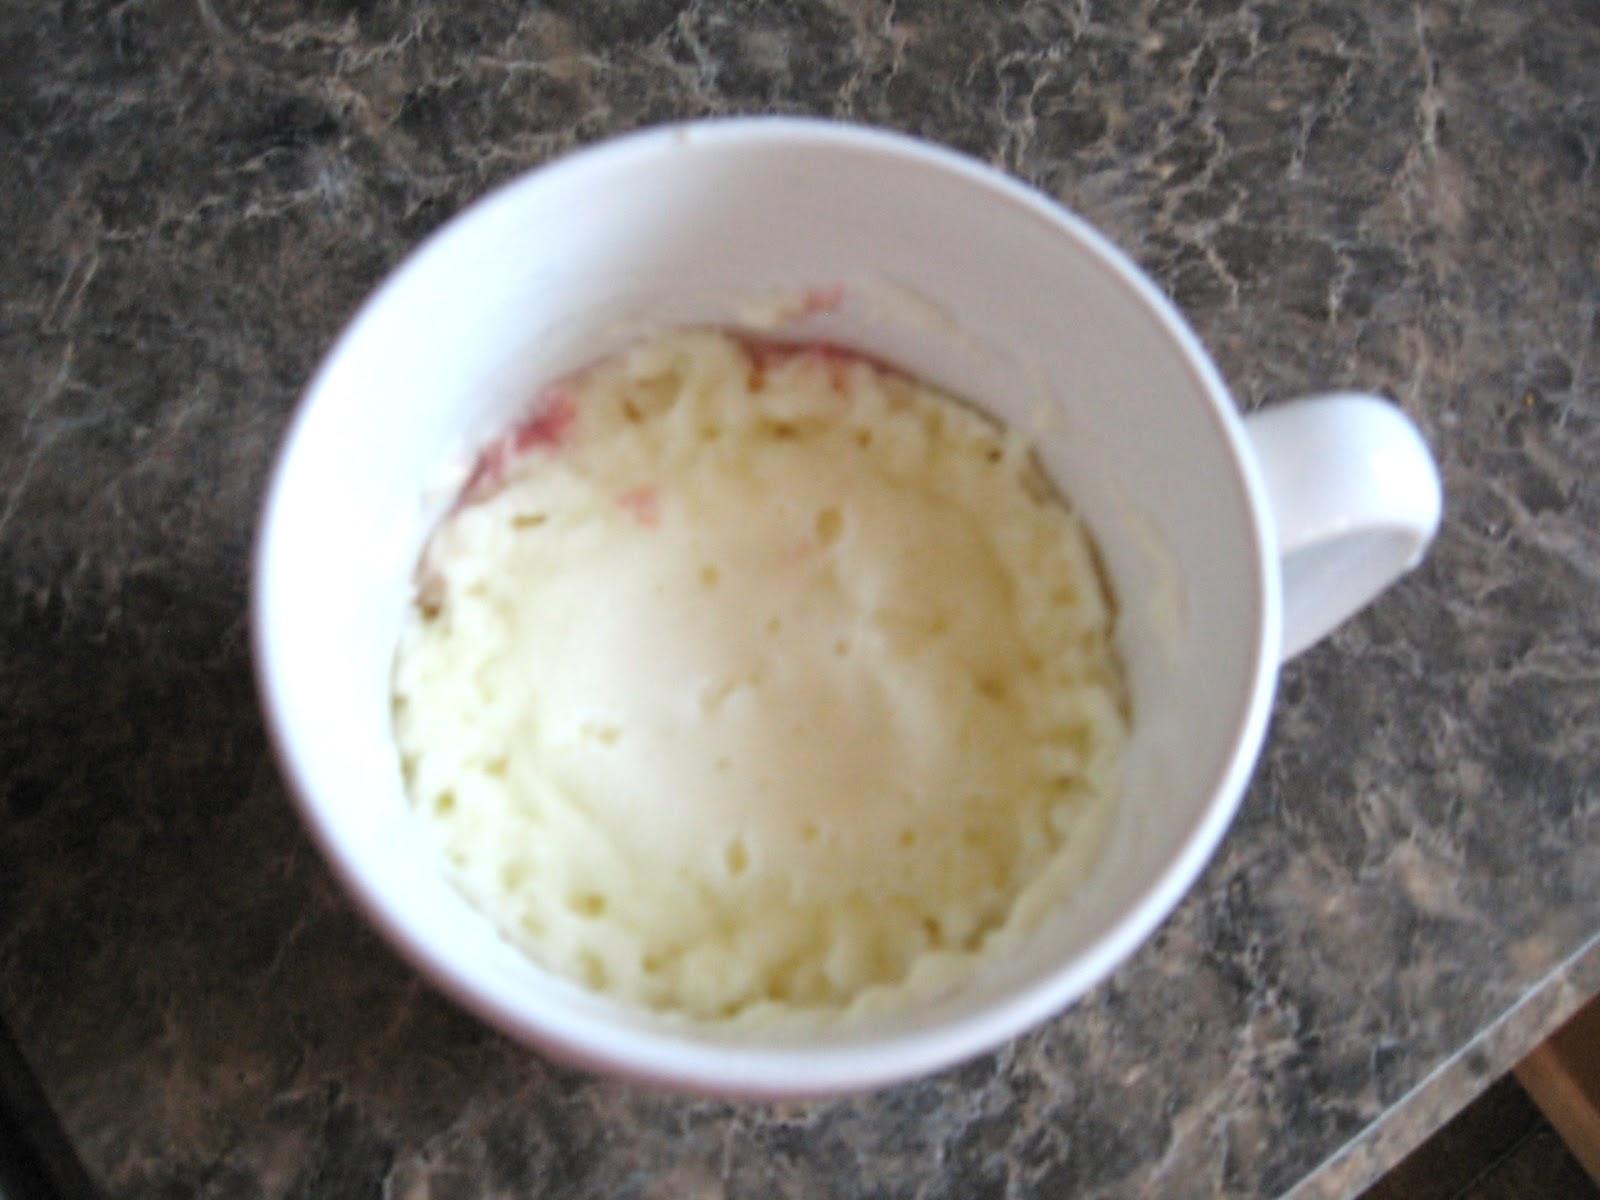
Upside Down Microwave Cherry Cheesecake in a Mug
I found myself yesterday, a day late, and dessert short. It's not that I had forgotten about National Cheesecake Day, or that I had forgotten it was on July 30th, or that Monday was 30th, I just sort of lost track of Monday. Do you ever have one of those weeks?
Anyway, I figured a day late was better than not at all, especially considering the number of interesting and delicious sounding cheesecake recipes floating around out there, like this one, inspired and modified from the Five Minute Cheesecake recipe at Not Quite Nigella -
Spoon a tablespoon or two of cherry pie filling into the bottom of an 8oz microwave safe mug.
2 1/2 tablespoons cream cheese
2 1/2 tablespoons sour cream
2 1/2 tablespoons powdered sugar
1 tablespoon lemon juice
and 1 egg white.
Pour the mixture over the cherries in the mug, and microwave on medium power for two minutes and a half minutes, or until the sides seem firm but the center is still jiggly (but not runny).
Crumble a graham cracker over the top.
Allow to cool thoroughly, and finish setting up, in the refrigerator for a couple of hours, or more...
...before digging in.
Happy Belated National Cheesecake Day!
It's great to be a homeschooler.
Tuesday, July 31, 2012
Knotted Friendship Bracelets
The older girls' (ages 11 and 13) friend K (age 12) taught us a new technique for making friendship bracelets, while visiting here last week. You can never have too many different types of friendship bracelets :)
K wasn't sure where the method originated from, she learned it from a friend, herself. But, it's nice and easy, and the girls have really been having fun with it. To try for yourself, just start out with two pieces of multi-strand embroidery floss, about a foot long (or longer if you want to be on the safe side).
Tie them together at one end.
Have a friend hold the knotted end...
...while you begin to knot one piece of string around the other...
...by looping it around...
...over, and through...
...and pulling it tight into a knot.
Keep making knots until you have an inch, or so of knots of one color in a row, and then switch to tying the second string around the first...
...repeating, until you have a long enough pattern of knotted segments to tie around your friend's wrist.
You can make a chunkier version, or add more colors, by adding more strings. We made a bracelet in primary colors...
...using two strings of each color...
...by tying the two yellow strings around the four (red and blue) for a while...
...then switching to tying the red around the others, and so on.
I think that is really the appeal of this method of bracelet making for the girls, the pattern is so adaptable, and easy to vary, it leaves a lot of room for individual creativity.
It's great to be a homeschooler.
Subscribe to:
Posts (Atom)