Showing posts with label Sunday Science. Show all posts

Saturday, November 22, 2014

Unschooling Science - Rainbow, Birthday Candle, Emission Spectra


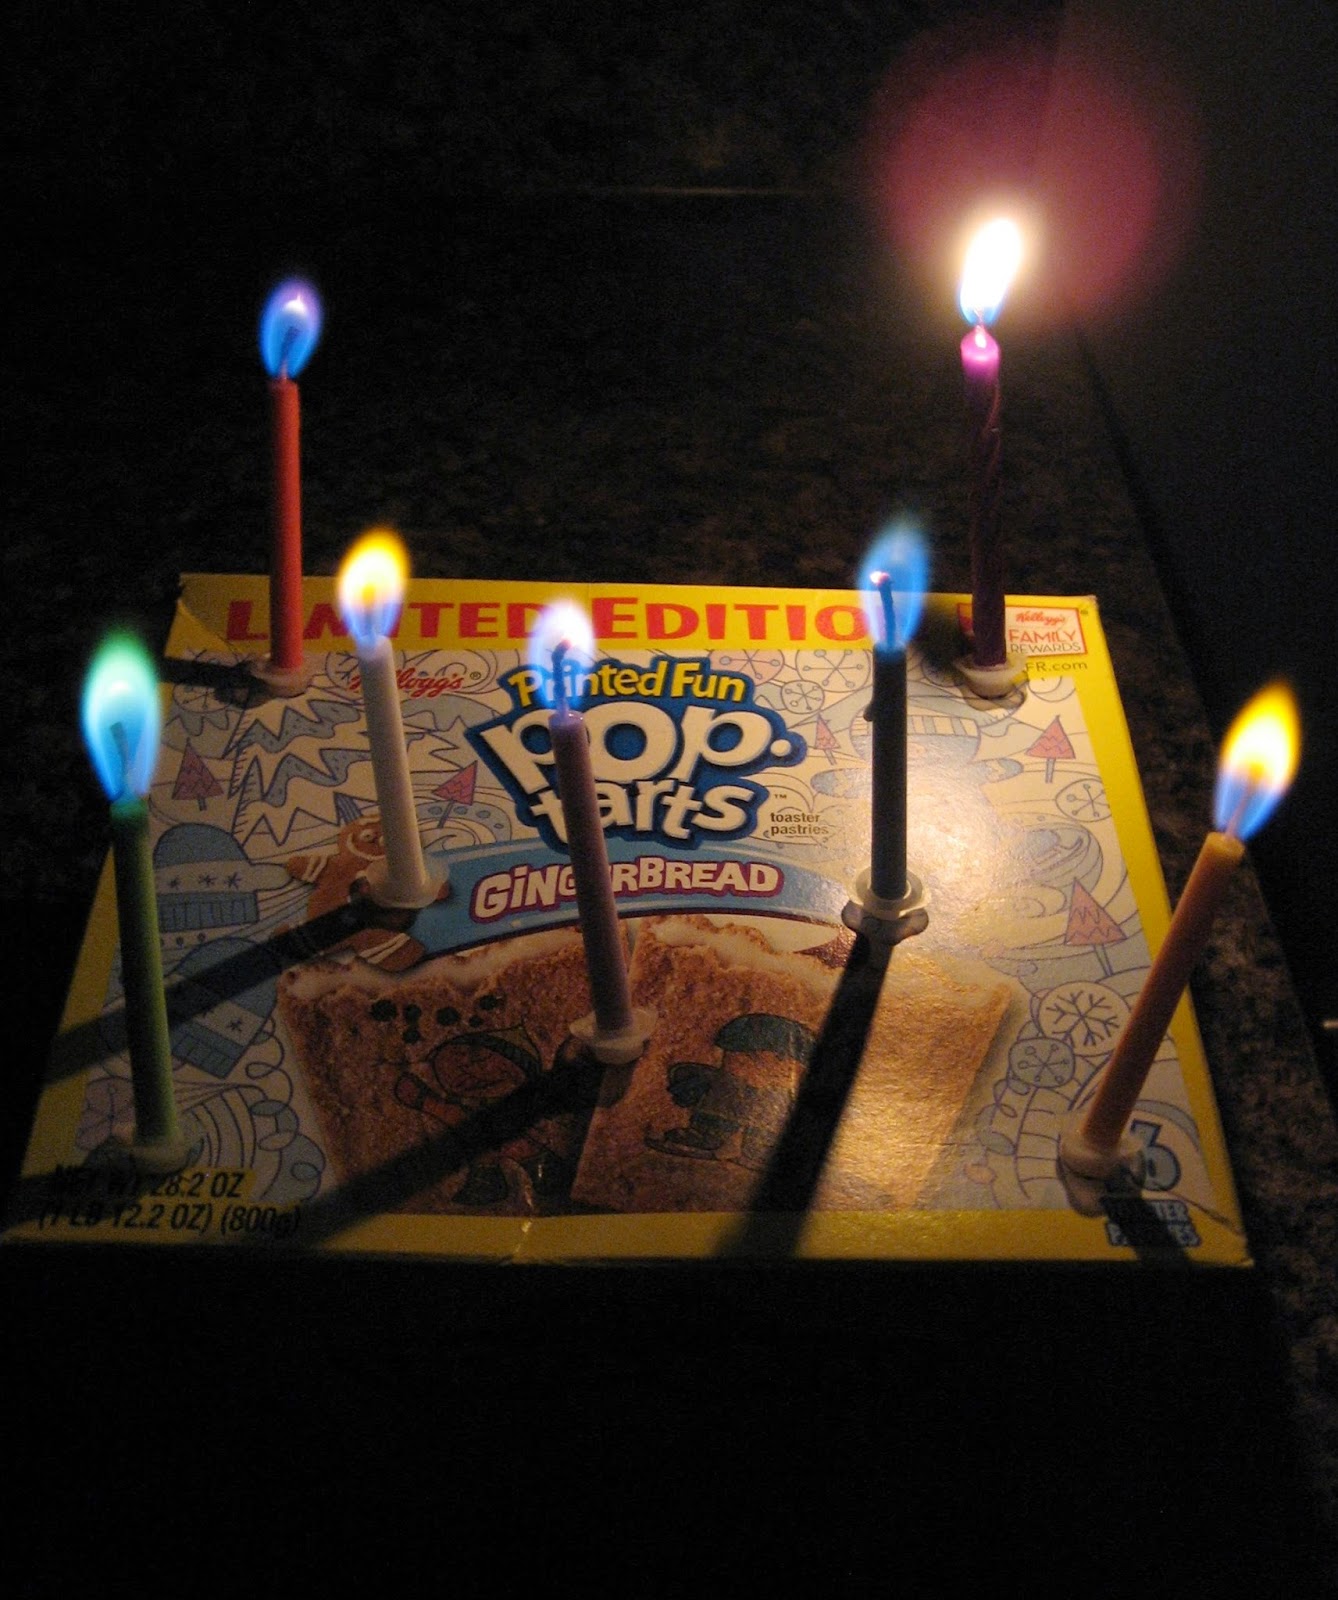
Science is one of the subjects we pretty much completely unschool.  We have a few science textbooks, and on occasion we read through them, just to be able to say we've "done science", but for the most part our science lessons and projects rise out of the moment.  Like, for instance, this weekend, when I spotted the package of ColorMagic colored flame candles, while shopping for supplies for yet another birthday party.

I tossed them in the cart, not for the party, but for a science experiment.  I wasn't really sure what sort of experiment, but I know enough about chemistry to know colored flames means burning different sorts of chemicals - and that reminded me vaguely of high school chemistry flame tests.

Flame tests were fun, but not something I've wanted to try out in our kitchen.  Check out this Sci Guys video, if you're not sure why not.  Something about burning toxic chemicals, and reactions hot enough to melt tables...and my own knowledge that I know just enough about chemistry to be really dangerous...and...well, you see.  But, birthday candles?  I can handle birthday candles. 

All I had to do was to figure out how to work them into a science lesson.

My first thought was to search for a "How It's Made" type of video for the candles, that would neatly, and quickly explain the science behind the candles - because it was a birthday weekend, and we were busy already.  Unfortunately, I didn't find one.  But, what I did find was a YouTuber discussing the candles, and how looking through a spectroscope confirmed his suspicions, that at least one of the candles was burning some sort of sodium compound.  Which brought me back to thinking about flame tests.

So, I built a very quick spectroscope, to test out if that would work with the candles, by cutting holes in the top and bottom lids of an empty cereal box, opposite each other, and covering one with a diffraction grating...


...or in this case, one the rainbow viewers from the top of a tube of last summer's Grab-A-Bubbles...


...and a couple of strips of tinfoil (it's supposed to be razor blades, but I didn't have any on hand), to form a slit over the hole on the other side, and sealing up any cracks that might let light in to the box with duct tape.  It was just coincidental, though appropriate that the only duct tape I could find was rainbow patterned...


...because when you aim the slit at a light source, like a window during the day, and look through the lens side, you see the emission spectrum (or rainbow) created by that light. A continuous spectrum from sunlight (where all the colors run into each other) because sunlight contains all the visible wavelengths of light (or something like that)...


...and a discontinuous spectrum for something like a compact fluorescent lamp (or light bulb), where the colors have gaps between them, because the bulb isn't emitting all the wavelengths of light...


...unlike LED light, that is much closer to natural sunlight.


While the children were busy looking through the spectroscope at the windows and light fixtures in the house, I was Googling and perusing high school texts (like this one, from WikiBooks), so I could throw words like continuous and discontinuous spectral emissions out, and sound like I knew what I was talking about.

Then I set up the candles...


...for the children to look at through the spectroscope and study.


Each burning chemical produces a different spectral emission (like a fingerprint).  It's one of the ways scientists can look at distant stars, and know from what sort of gases they are formed.

Burning different chemicals also produces different colored flames.  So, we looked up which chemicals produce the colors of flames we had, and then looked up the emission spectra for those chemicals, and compared that with what we saw when we were looking through our spectroscope.


A red flame (or pink) can be produced by burning lithium or strontium chloride.  Here is an official emission spectrum for lithium, pulled from Google images (sorry, but I had trouble finding the actual source)...


...and here is a dim (taking pictures of the inside of a cereal box is not always easy) picture of what we saw when looking at the red flame through our spectroscope.  What we actually saw was a lot brighter and more impressive, but even here you can see the similarities.


Sodium chloride creates a yellow flame.  The emission spectrum for sodium looks something like this...


..which our image did not match completely.  We were seeing more blue.


A green flame can be produced by burning cupric sulfate.  The emission spectrum for copper looks like...


...which wasn't far from what we saw.


Potassium chloride produces a purple flame.  The emission spectrum for potassium...


...shows more red than we were seeing.

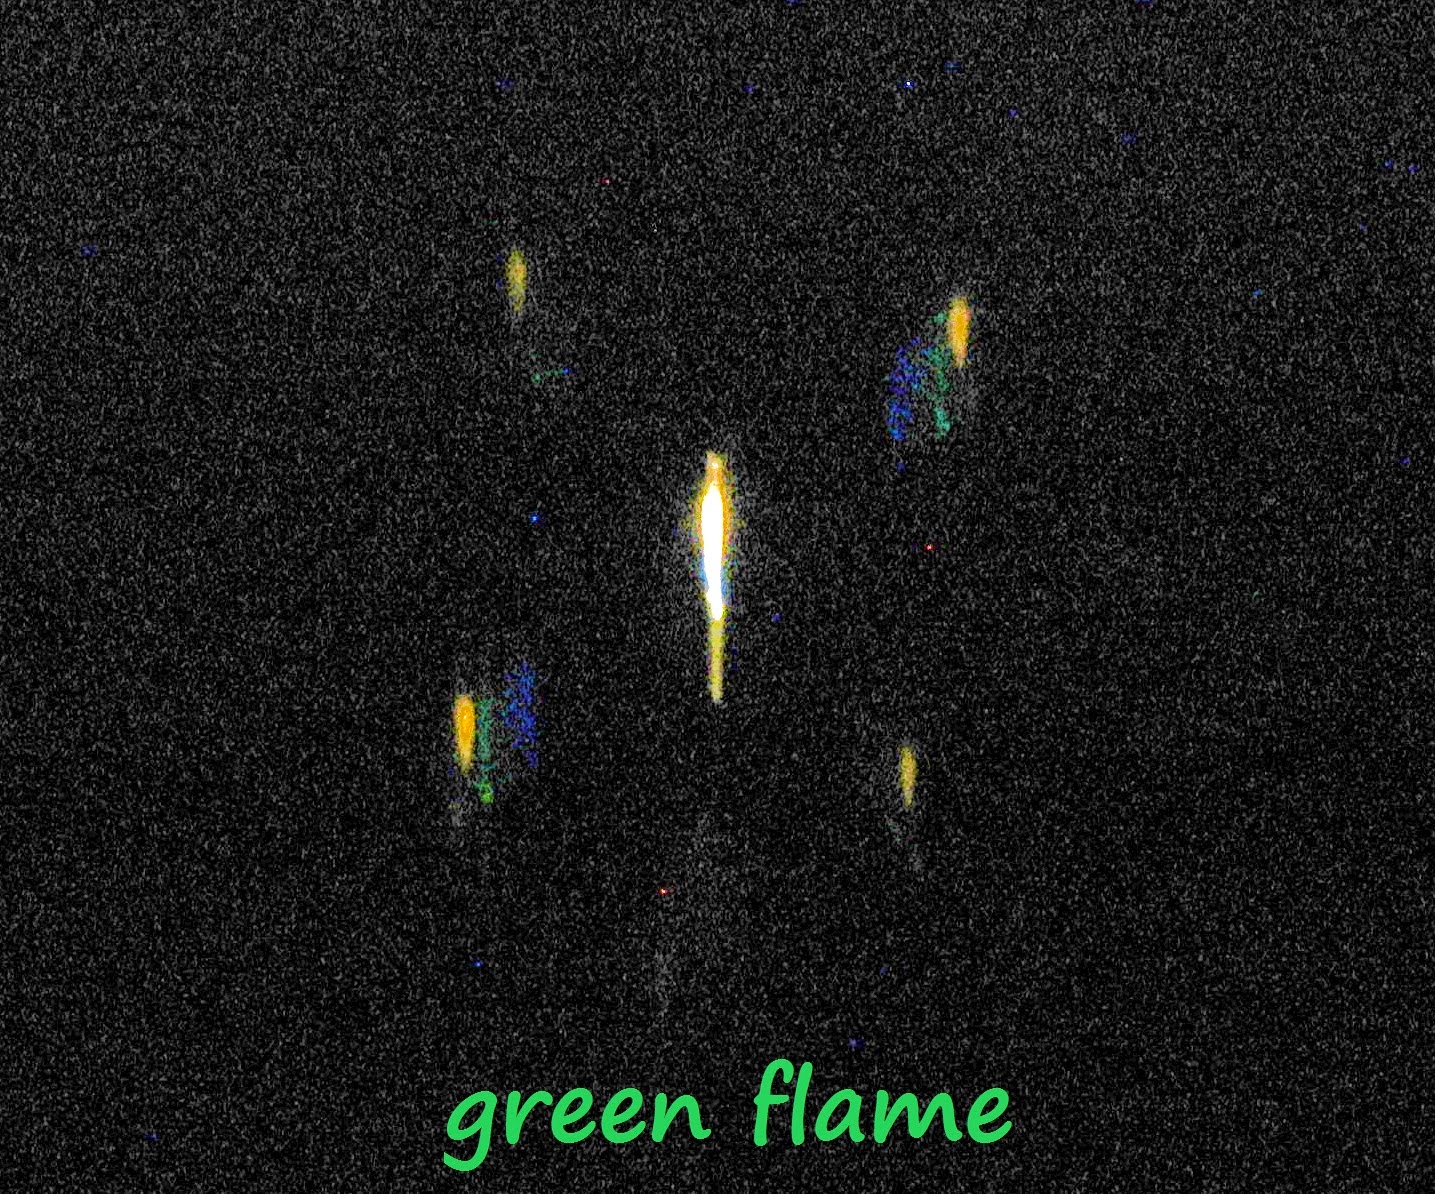
A blue flame can be produced by burning cupric chloride.   The emission spectrum for copper looks like this...


...and what we saw is below.


After I posted all of these, I found a really good list of flame colors, chemicals, and emission spectra all in one place - here, so we might have to go back through them all.  At any rate, it was an interesting bit of supermarket science, with lots of follow-up potential if anyone ends up being interested.  As is usual for us though, we've already bounced on through several other life-related topics, and have dismantled our spectroscope until the topic comes around again.

As for the spectroscope, if you don't have a rainbow viewer, or diffraction grating handy, you can make a slightly more complicated version using a CD (sci-toys.com has easy to follow instructions for both types). 

It's great to be a homeschooler.


Sunday, November 16, 2014

Sunday Science - Footprints in the Snow


Other than the bunny in our basement window well, we haven't seen a lot of wildlife in our new neighborhood.  So, it was a pleasant surprise, after a late evening snowfall, to wake up to a yard full of animal tracks.

A quick investigation told quite a story.  "Our" rabbit...


...or some rabbit, anyway, although out of sight, has clearly not gone away...


...but instead, has been frolicking, digging for grass, and generally going everywhere in our yard (although it does seem to be only one set of prints)...


...under the bicycles...


...behind the heat pump...


...and out the other side, to rest for a while under our dryer vent...


...from where he/she could have watched the passing deer...


...the four of them, who came in twos from a field behind our house...


...before joining together...


...to cross the street, out front, as a group...


...paying no attention at all, to the little bird watching from the shadows under the eaves...


...or the family- oblivious, and sleeping through the night.

Linked with Science Sunday at All Things Beautiful.

Sunday, July 15, 2012

Science Sunday in the Early Morning


The high school youth group from our home church in Oregon is visiting our Montana youth group (which the Man of the House helps with), meaning lot's of fun, excitement, late nights, and early mornings.  It was nearly midnight last night, before they pulled into town, and we helped to get them situated into host homes around town. Then, we were up at five this morning, in order to be ready meet the teens at our church in time for a pre-Sunday school breakfast.

One unexpected bonus of being up before dawn on a Sunday morning was noticing the bright, shining planet situated just under the thin slip of moon in the eastern sky.  A quick check of Earthsky.org informed us it was Venus, and if we had been just a little bit earlier, we would have had a good view of Jupiter, as well.


The view tomorrow morning promises to be just as lovely.  I for one, plan to be up to see it with binoculars in hand.  And, thanks to the folks at Earthsky.org, when I point out the sight to my sleep-deprived children, I can even sound like I know what I'm talking about, and pack in a quick science lesson, before heading out for a day of fun.

It's great to be a homeschooler.

Linked with Science Sunday at Adventures in Mommydom.

Sunday, July 1, 2012

Coffee Filter Chromatography - Sun-Catcher Follow-up


If our post yesterday inspired you to make a foam plate and coffee filter sun-catcher today...


...then let me encourage you not to miss out on the opportunity for some quick chromatographic fun with the left overs.

Let children mix the bowls of watered down food coloring together - red and yellow make orange, orange and blue and green make brown, and drops of brown food coloring on a coffee filter...


...make rainbows of color as the blue rushes out first, followed by the yellow (with a slight blending into green between them) and then the red (again with a hint of orange at the edges).   The colors separate almost instantly, making it an ideal art/science experience for younger children, and a fantastic boredom buster, I might add.  Like baking soda and vinegar eruptions, coffee filter chromatography never seems to get old.


It's great to be a homeschooler.

Linked with Science Sunday at Adventure's in Mommydom.

Sunday, May 27, 2012

Science Sunday - Glowing Polymer Snow


Back at the grocery store this week, I picked up a test tube full of fake snow, and a bottle of tonic water for some Science Sunday fun.

If your grocery store doesn't happen to have vials of fake snow hanging tauntingly on the cereal aisle, don't worry, the hydrophilic powder can be found inside of diapers, as well.  Professor Gizmo has a video lesson on polymers, with a child friendly explanation of the science of the stuff.


It's wonderfully absorbent, and somewhat fun to play with (though nothing like real snow).


But, what's really neat, is that if you add tonic water (which glows under a UV light thanks to the quinine it contains) instead of plain old tap water to the powder, you don't just get fake snow...


...you get glowing fake snow.


Just keep in mind, this experiment, unlike the glow-in-dark paint filled glue we made the other day, does require a UV light to make it glow.  We used a Stream-Light Twin-Task 3C flashlight with a UV setting (from the Man of the House's hunting supplies). There are less expensive ultraviolet lighting options available out there, that just happens to be the one we have, and can recommend.

If you're curious about what makes the tonic water glow in the UV light, click here to read all about it.


It's great to be a homeschooler.

Linked with Science Sunday at Adventures in Mommydom.

Science Sunday

Saturday, May 19, 2012

Singing Tube Science


Being a homeschool teacher, and so naturally, or perhaps by necessity, fond of kitchen chemistry, I have a hard time walking through the grocery store, without making a mental list of potential projects.  There are exploding marshmallows for the microwave, and electrically charged Jell-O in with the baking goods, anthocyanin and bromelain in the produce aisle,  and so on, and so on.

My grocery store finds have not been limited to chemistry either, there are plenty of supplies for biology and physics labs to be found in among the Pop-tarts and laundry soap, as well.  Even the cheapy little toys, placed temptingly at child-eye level, offer scientific promise, such as the sound tubes I encountered in an end aisle display, on one of our latest shopping trips.

Remember those toys - they were big in the '70s. I had one myself, and it was great fun.  Spin them in the air  above your head, and they "sing".  Spin them slow, and the tone is low, spin them faster, and tone rises higher and higher.  That's a science lesson in and of itself...


...but we used ours to demonstrate the Bernoulli effect - that where there is fast moving air, there is low pressure (see this video lesson by Professor Gizmo for a more thorough explanation of the principle).

We secured a plastic bag to one end of the tube with a rubber band, and filled it with air (thanks to Steve Spangler for this idea).


Then, we spun the other, open end - so the air was moving quickly by it, creating an area of low pressure...


...that the higher pressure air, in the bag at the other end, wanted to fill...


 ...leaving us with an empty, fogged up (think cloud experiment), bag.


So, we turned the tube around, and spun the end with the bag on it.  Now, the low pressure was around the bag...


...which was quickly filled...


...by a flow of high pressure air from the stationary, open end, of the tube.


Not too bad for a $1.75 toy. Of course, when we were done experimenting, I removed the hazardous plastic bags, and let the children go off to make beautiful music for the neighbors to enjoy.

It's great to be a homeschooler.

Linked with Science Sunday at Adventures in Mommydom.

Science Sunday