 There are a number of different, homemade finger paint recipes floating around the blogosphere. I thought I'd weigh in on our favorite.
Homemade (Scented) Finger Paint
1/2 cup cornstarch
4 tablespoons sugar
2 cups cold water
Food coloring OR a few teaspoons of various colors of unsweetened Kool-Aid
liquid dish soap
Mix the cornstarch, sugar, and water together in a small pan.
Cook over medium heat, stirring constantly, for about 8 minutes, or until it begins to thicken. You will want to remove it from the heat while it is still slightly thinner than you think it should be for finger paint, because it will continue to thicken, as it cools.
 Divide it into the number of dishes, or air tight containers you desire, and add a drop of dish soap, and a few drops of food coloring, or about a teaspoon of Kool-Aid to each.
The dish soap will help keep fingers from being stained. Though, if you use Kool-Aid, there might still be some staining. But, fingers return to normal fairly quickly, and the smell of the paint with the Kool-Aid is marvelous. It's really a lot of fun to paint with.
I like this recipe, because the paint comes out thick, and gel-like, much like store bought finger paint.
 While, my children generally just blob it about, it can be used to really paint with, too.
It dries nicely, with a glossy finish, and is not flaky.
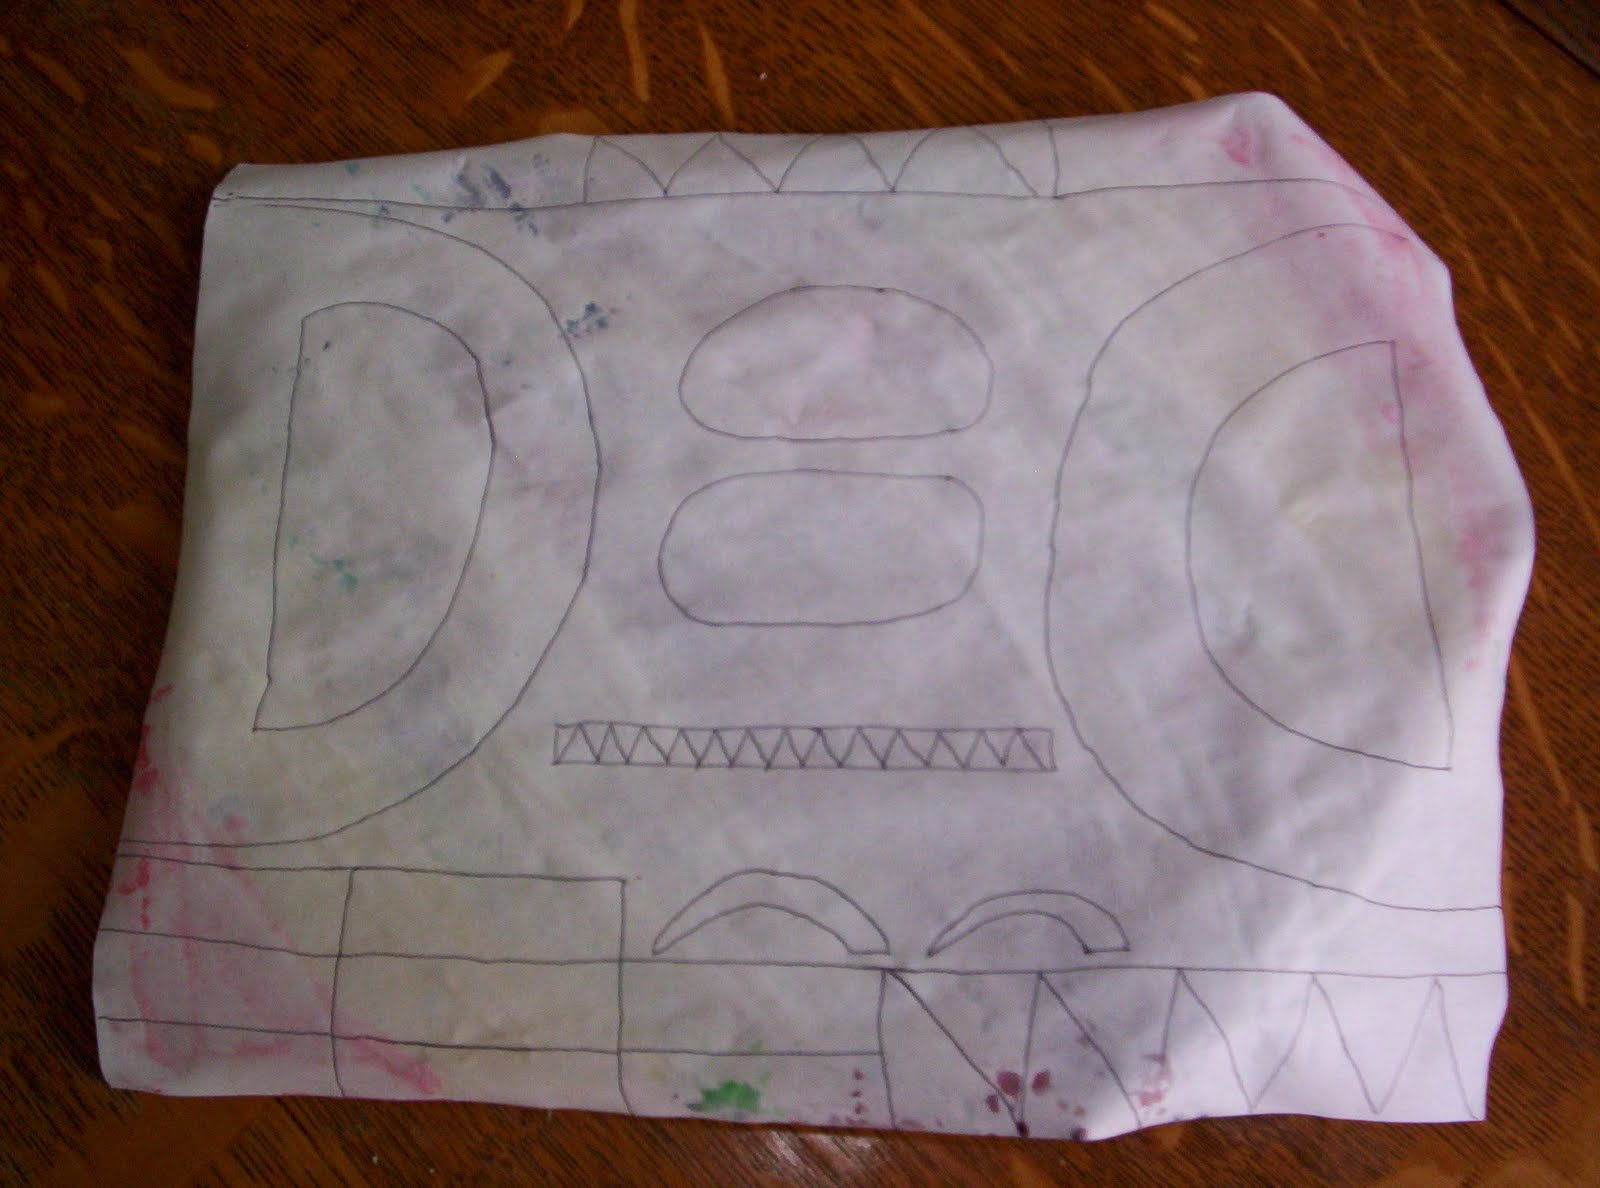
In fact, papers painted with it work very well for cutting up into shape crafts, like the dinosaur craft I posted, this morning.
It's great to be a homeschooler.


 So, we ended up with a number of projects, from dinosaur nests with eggs, to a non-dinosaur related pencil holder.


.JPG)
.JPG)


