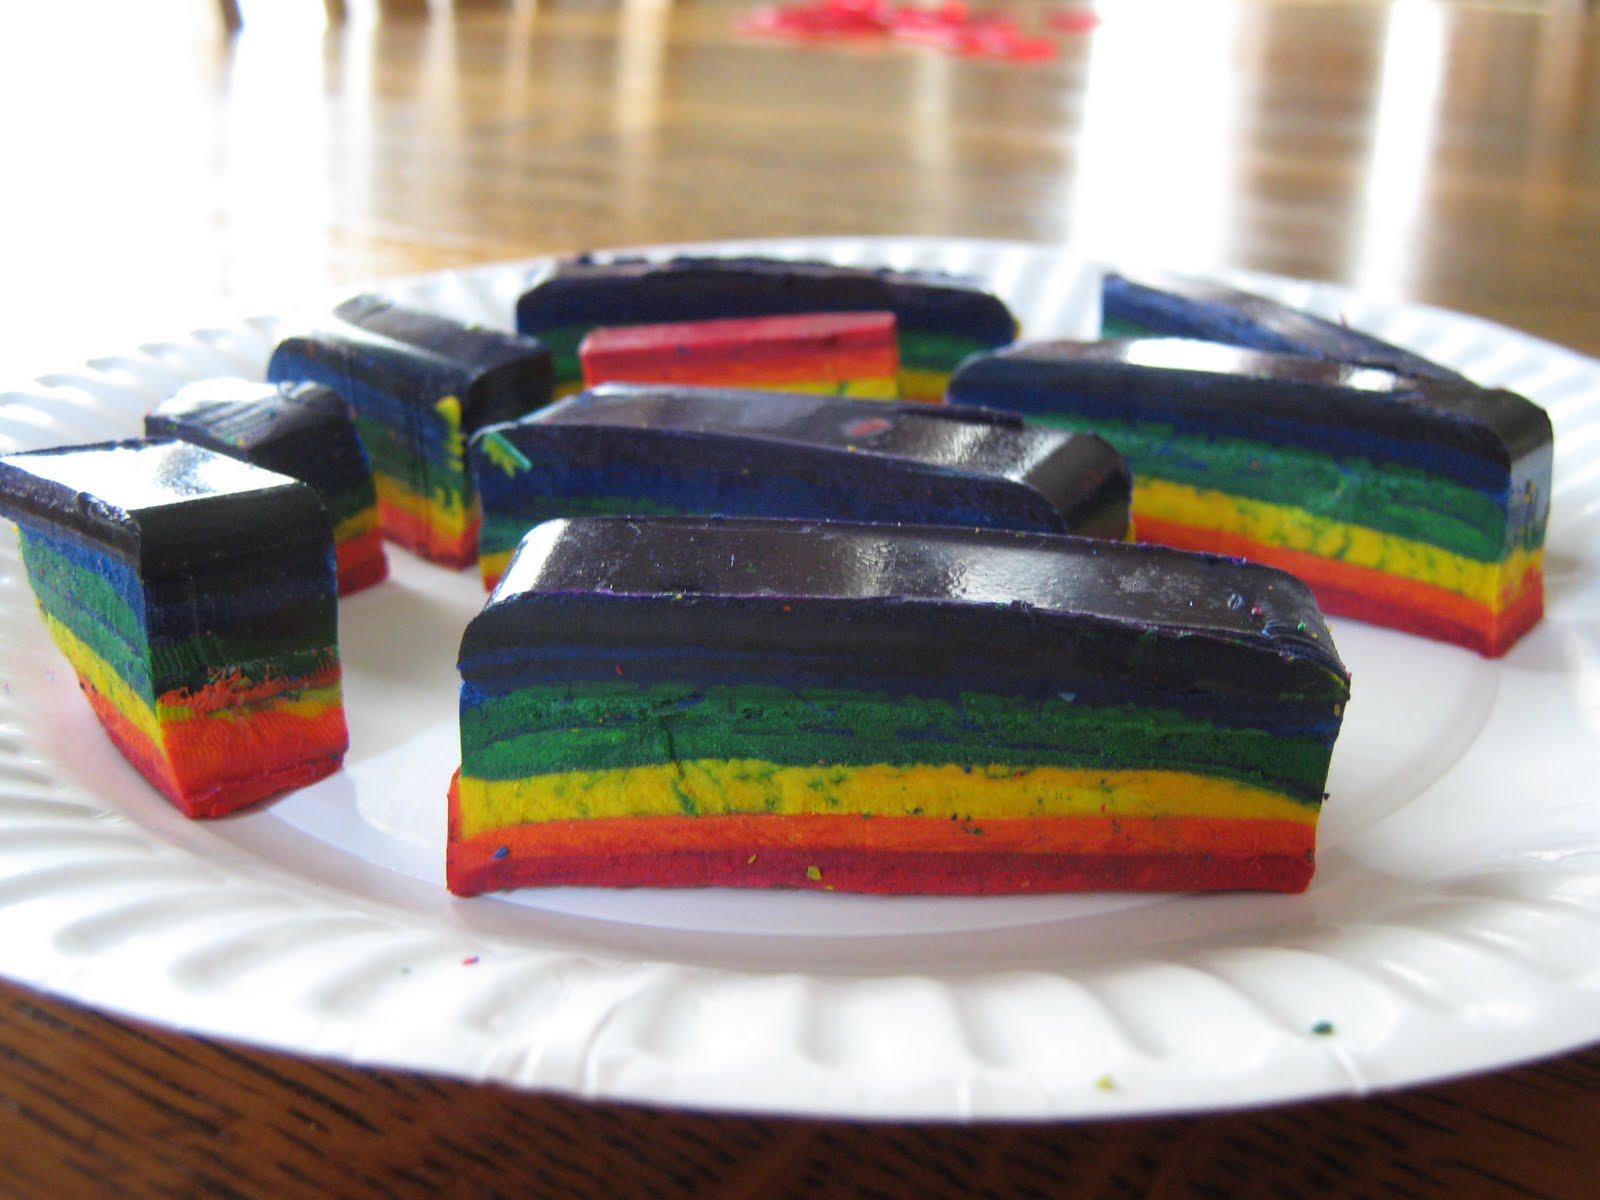
My little spurt of spring cleaning, left me with a pile of broken crayons, cleaned out from the children's coloring drawer, ready to be recycled. I have to say, the rainbow crayons, we turned them into, are my favorite of our recycled crayon projects so far, even if they were a bit more work, than the average muffin tin crayons.

We melted the first (purple) layer of crayons, about an ounce worth, in an old, mini-bread pan, I keep around for projects like this.

We melted them in a 35o degree Fahrenheit oven, for two to three minutes, until they were completely liquefied.

The rest of the layers were melted in recycled, disposable pans, and then poured into the first pan, once the layer underneath was completely cooled.

We found it was necessary to pop the pan into the freezer for a few minutes, after each new layer of crayon was added...

...to keep the hot wax from melting, and mixing with the layer below.

The wax pulled away from our non-stick pan as it cooled, which allowed some of new layers to drip down the sides of the crayon, but those bits chipped right off, after the crayon block was removed from the pan, and since the wax pulled away from the sides, the crayon came right out of the pan, without any problem.

Cutting the block into individual crayons took some effort. I softened the block, by placing it on top of the stove, and cracking open the oven door, with the oven still on. Then, I poured boiling water over the blade of a sharp knife, and pushed it down through the block, with as much equal pressure as I could manage.

The corner edge of the crayons can be used to draw in red, or purple, while the ends make broad, multi-colored lines...

...perfect for writing with...

...or, of course, for drawing rainbows.

It's great to be a homeschooler.
You are seeing rainbows everywhere! Can't wait for you to start finding gold!
ReplyDeleteWhat pretty crayons!
ReplyDeleteThat's impressive. I don't know if I'd have the patience for that.
ReplyDeleteYou have an unlimited supply of crayons, don't you? Very pretty!
ReplyDeleteNatalie - I do buy a lot, when they are on the great back to school sales - We use them for a number of craft projects, and the sharp nice ones are always the favorites.
ReplyDeleteNatalie - I do buy a lot, when they are on the great back to school sales - We use them for a number of craft projects, and the sharp nice ones are always the favorites.
ReplyDeleteCute! Love it!
ReplyDeleteGreat crayons! I might make these for St. Patty's!
ReplyDeleteYour crayons are so cool!!!!
ReplyDeleteWhat a great twist on crayon making....I Love these! :)
ReplyDeleteThey look great! Thankyou for sharing this. The only put off is how hard it will be to cut them.
ReplyDeleteBravo!!! That's above the top! WOWZA! I've tried the melting crayon thing and all we ended up with was a weird black. You ROCK!
ReplyDeleteGreat project! I can't wait to try!
ReplyDeleteLove the rainbow idea! I melted crayons into candy molds in the shapes of trucks and airplanes for my nephews' Christmas presents. I will have to try your idea for my 3 year old soon. She'll love it!
ReplyDeleteSo Clever! I have done this before but never with the rainbow effect you created!
ReplyDeleteI would love if you would link this project up to my weekly linky party Upcycled Awesome! http://tinyurl.com/upcycled36
Hadn't tried this method yet. Thanks for the idea. You and your kids might like to check out our crayon recycling project with profits for children in Africa. See www.africrans.com. Enjoy and pursue creativity!---Christi with Africrans By Amerikids.
ReplyDelete