Sunday, November 6, 2011

Science Sunday - Don't Over Over Mix the Muffins

T (age 14), and I watched a Thanksgiving themed chemistry demonstration by Professor Diane Bunce, linked through Time Magazine's website, yesterday afternoon. T, was very taken with the make-the-Ziploc-baggie-expand-and-possibly-explode-with-vinegar-and-baking-soda type experiment that Professor Bunce used to explain why you should not over mix muffin batter.

I was more intrigued with her explanation, that over-stirring the batter would cause all the carbon dioxide bubbles, formed by the combination of baking powder and the lactic acid of the milk, to pop prematurely, releasing the gas, and keeping the muffins from rising as well during baking. That sounded like a good experiment for Science Sunday, and a good way to get a jump on Sunday morning's breakfast at the same time.

First, I watched "The Magic School Bus Ready, Set, Dough" with the younger children (with no exploding baggies to be seen, T excused himself), to review baking soda, or baking powder's role in causing dough to rise (click the link above to view the episode).

Then, I pulled out all the ingredients for making muffins. I pointed out to the girls (ages 5 and 6) how the recipe called for mixing the dry, and wet ingredients separately, and combining them, stirring just until the dry ingredients were moist.


Keeping Professor Bunce's theory in mind, I gave the girls two bowls, each with a half teaspoon of baking powder, the leavening agent in the muffin recipe, and about a tablespoon of milk, the activating acid from the recipe.

With the first bowl of milk, I instructed them to only mix the baking powder in enough to get it wet. But, with the second bowl, I had them stir like mad. As expected, the first bowl rose in frothy bubbles, while all the bubbles in the second bowl rose to the top, and popped.


Then we mixed up the muffin batter...


...combining the dry and wet ingredients together...


...and being careful not to over stir the batter.


After we filled one muffin tin...


...we took the small bit of remaining batter, and stirred it a good deal more...


...before dividing it into another pan, and popping it into the oven as well. The girls entertained themselves with vinegar and baking soda experiments...


...while the muffins rose, and baked.


And, I do mean rose and baked. In fact, the over mixed muffins (like the one pictured on the left, below) rose even better than those with the less stirred batter.


So, we turned to Alton Brown, as I've said before - our favorite kitchen scientist, and the episode of Good Eats entitled, "The Muffin Method Man", in which Mr. Brown explains, that over stirring muffin batter can lead to large bubbles of carbon dioxide, instead of small ones, and result in tunnelling, or big holes inside the muffins.

That would certainly be consistent with what we saw when we stirred the baking powder and milk. Take a look at the big bubbles on the left, verses the small frothy bubbles on the right.


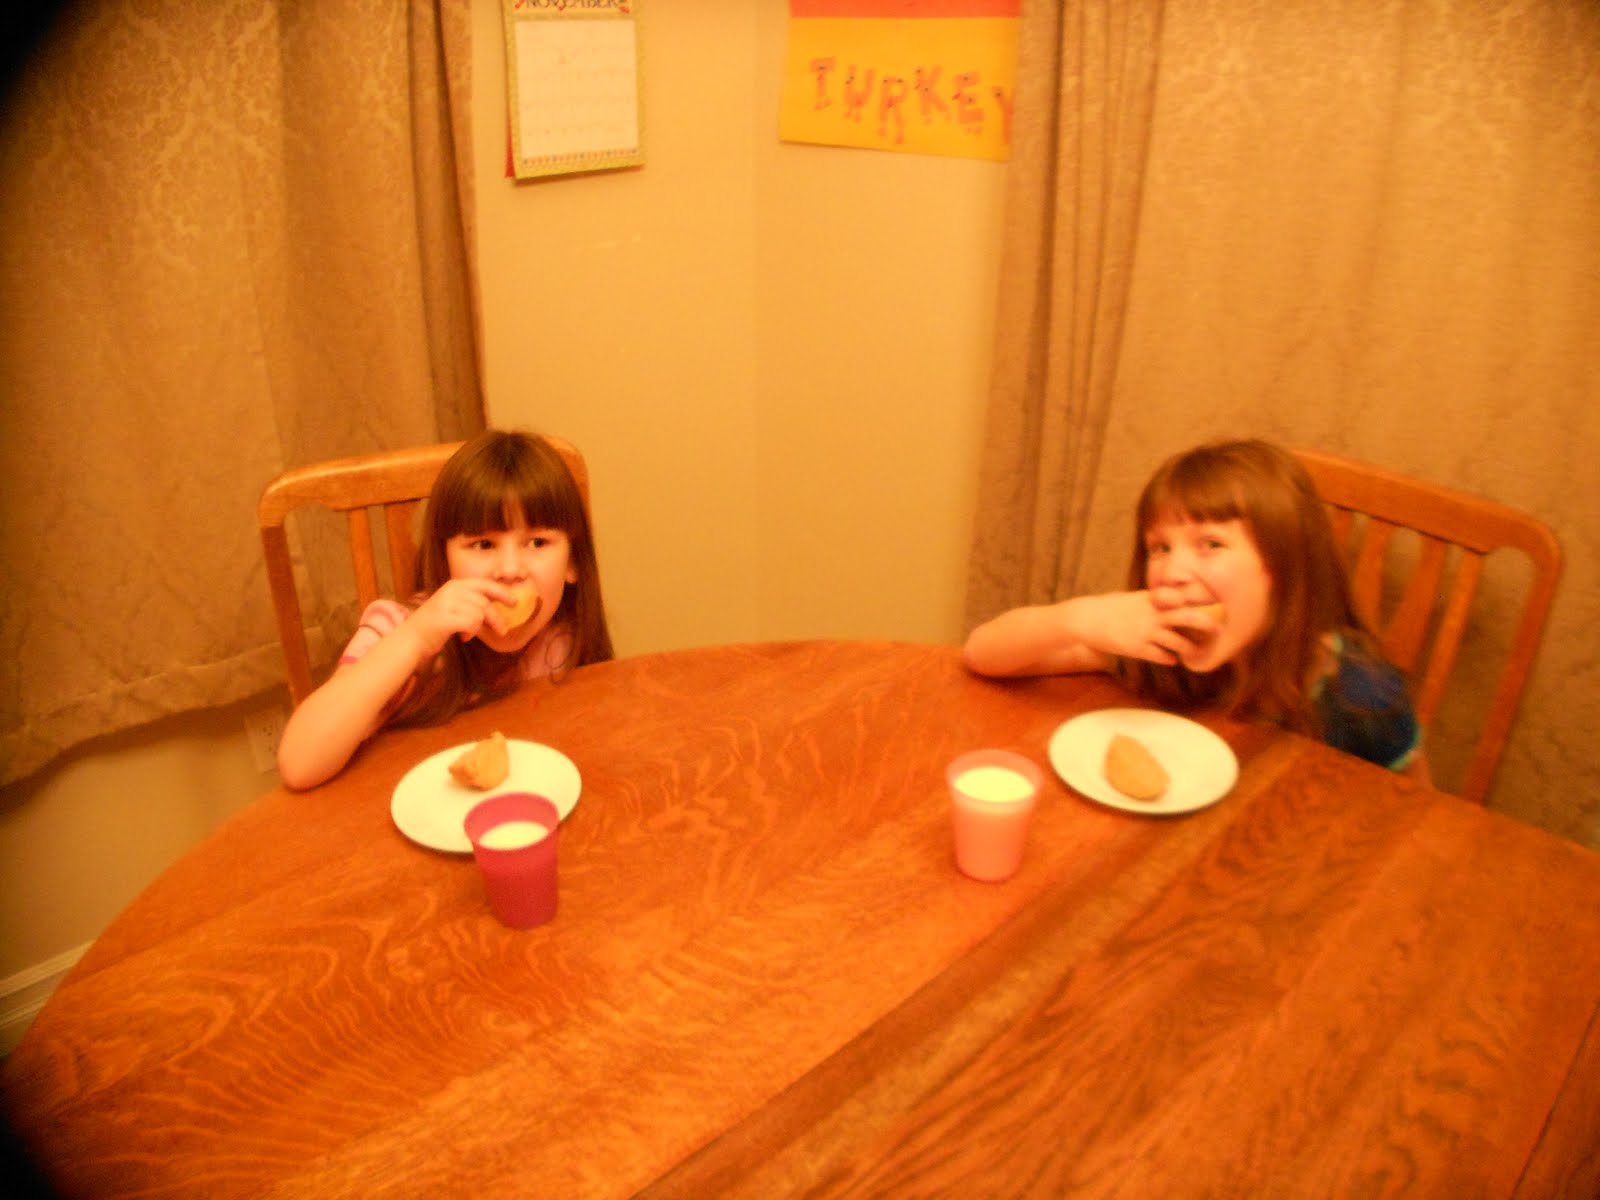
The only problem is when we cut the muffins open, the over mixed muffin really looked less hole filled than the first batch of less stirred muffins. I might not enter them in a county fair, but I wouldn't be embarrassed to serve them to company.


...if there were any left that is.


But I'm sure conventional wisdom, and high school home economics teachers everywhere, cannot be wrong. There simply must be a good reason not to over mix the muffin batter. Clearly, we need to experiment more. It's a good thing the children like muffins for breakfast.

While I'm out picking up extra muffin add-ins, click over to the Science Sunday link-up hosted at Adventures of Mommydom, for more science themed, and maybe even calorie free, family fun.

It's great to be a homeschooler.

Friday, November 4, 2011

World Map - Cookies and Puzzle

I pulled out a Ravensburger "Discover and Learn" Map of the World Puzzle to keep the children busy, while I was working on all the apples this week.

Although I noticed in the Amazon reviews there were a few complaints about the accuracy and the placement of the equator, we found it to be an excellent puzzle. Not only are the continents and oceans labeled, but individual countries too, shown with their flags, and capitals marked.

There is also a list of interesting world facts, only slightly out of date in reference to population, and a very nice full color poster to hang on the wall, once the puzzle is taken apart, and put back in the box.

At 200 pieces, D (age 8) found it a little daunting to attempt on his own, even though the puzzle is marked for ages 8 and up, but lucky for him, his older brother was willing to lend a hand.


While the boys worked away on the puzzle, the girls were inspired to make a cookie version of the map (I can't imagine where they'd get such an idea).


They used the enclosed poster to trace out the general outline of the continents on wax paper...


...for a template...


...to cut the dough around (click here for the recipe) into map shapes.


Once the cookies were baked and cooled, I mixed up a batch of butter cream frosting for them, and colored it to match the colors of the continents on the puzzle.


They did such a great job, I almost didn't have the heart to tell them they'd frosted the wrong side of Africa.


It's great to be a homeschooler.

Thursday, November 3, 2011

Preserving Apples Like a Pioneer (at heart, anyway)

We're up to our elbows in apples this week, thanks to friends being up to their necks in them, and insisting we take a box home with us after church on Sunday.

There's just something about a big box of apples on a cold fall morning, to make a person feel like a pioneer, filling up the pantry, or root cellar if we had one, preparing for the winter ahead.

The girls jumped right in, following instructions from Barbara Greenwood's A Pioneer Sampler: The Daily Life of a Pioneer Family, for drying apples in the oven.


It's not exactly the way the pioneers would have done it, but it was a lot of fun for them to slice up cored and peeled apples...


...arranging them in a single layer on a greased cookie sheet, to dry in a 175 degree Fahrenheit oven (as low as ours would go)...


...turning them every hour for even drying.


The book suggested six hours of drying time, but ours only took three. Of course, we only had room on the cookie sheet for slices from about three apple - so it could take days to preserve the entire box worth that way. But then, we subtracted two more, sliced up fresh for lunch, and another five or six pounds worth for making apple butter, also a pioneer favorite.

In fact, we found instructions for turning apple sauce into apple butter using the oven, in David C. King's Pioneer Days, from the American Kids in History series.


But, since we were starting out with apples instead of apple sauce, and we wanted to keep the oven free for drying apples, and regular use, we opted for the "all day" crock pot method. I think I originally found the recipe at AllRecipes.com, but we've been using it for years. It's so simple. All you have to do is peel and chop apples into a crock pot...


...dump in about four cups of sugar, 1/4 teaspoon of salt, 1/4 teaspoon of ground cloves, and two teaspoons of cinnamon (though from the looks of the picture below, I'm pretty sure I grabbed a tablespoon by mistake)...


...mix it all together...


...cover the crock pot, and let it simmer on high for an hour...


...then turn the crock pot down to low, and let the apples bake down for the rest of the day - somewhere around 10 hours, stirring everyone once and a while (a good job for supervised little ones)...


...until it looks something like this.


I like to plop the whole mess, carefully, into a blender to smooth it out...


...and back into the crock pot, uncovered, on low...


...until a spoonful can cool in a dish, without any water pooling around the edges.


Then, I know it's ready to transfer into clean freezer containers for cooling, and storing in the freezer, safely set aside for Thanksgiving rolls, and Christmas toast.


First though, I thought we should sample a bit, to make sure it was to our liking. We didn't mind the extra cinnamon...


...but the children were divided on the use of apple butter in place of jelly in their peanut butter sandwiches. They loved the leaf cut-outs (an idea from Little Nummies) though, especially once they realized I'd saved the cut-outs, so they could put the bread back together for eating.


You can click the link above to view Little Nummies original, cuter version, of the sandwich.

Or, click over to The Ramblings and Adventures of a S.A.H.M.'s Whatcha Making Wednesdays link-up, if you're in a baking with kids kind of mood, or over to the History and Geography link-up hosted by All Things Beautiful for more history and geography themed projects and ideas for children.

It's great to be a homeschooler.

Wednesday, November 2, 2011

Turkey Letters


I found a new favorite Thanksgiving picture book in Tanya Lee Stone's T is for Turkey A True Thanksgiving Story. It is a rhyming alphabet book, telling the story, and dispelling the myths of American Thanksgiving, through an adorably illustrated, imaginary school play.

Stone went all out finding interesting phrases, or events connecting to the holiday for each letter of the alphabet - including X. Really, that alone might have been enough to have won my esteem, but there is so much more to the story. From Pilgrim dress to Sarah Hale and Abraham Lincoln, there are enough facts and details to interest and educate the entire family.

Not to mention the fact, that it went perfectly with a craft idea I'd been wanting to try out with the girls since seeing The PolkaDotLady's applique turkey alphabet on Etsy (through pinterest, of course).

To start out with, I gave the girls each a set of turkey letters, beaks, snoods, eyes and feet cut from construction, and scrapbook paper.


First, the girls sorted their letters out, to spell "turkey" on top of two sheets of construction paper glued together to make one long piece, using the title of the book to check their spelling.


Then, they glued legs on the backs of the letters, before flipping them over and gluing them down to their papers.


Finally, they went to town gluing on eyes...


...and beaks, and snoods.


E (age 6) tried pretty hard to arrange the pieces in a way that suggested turkeys. C (age 5) on the other hand, decided to make alien turkeys. Either way, there were a lot of giggles, and stories being told, as the strange birds appeared.


For more story stretching arts and crafts for children, check out this week's stART (story + ART) link-up hosted by A Mommy's Adventures.

It's great to be a homeschooler.

Tuesday, November 1, 2011

Fox and Geese - Pilgrim Games

It's that time of year, when the best way to pass a cold, blustery afternoon is to stay inside with a board game.

And if the game happens to be Fox and Geese, a 17th century strategy game, possibly even enjoyed by Pilgrim adults and children alike, at least according to the historians at Plimoth.org, where we found the template for the board below, so much the better.


There are several different ways to set up the game, using buttons, beads, seeds, or even rocks for playing pieces...


...but the basic premise of the game is usually the same.

One player, the fox (playing with the black button in our case), removes or "eats" the geese of his opponent (the red beads on our board), by jumping over them checker style, and removing them from the board.

The second player, using the geese, tries to trap the fox into a position where it can't move or jump. Players get one move per turn, alternating play back and forth, until all the geese are gone, or the fox is trapped.

The fox can move or jump vertically, horizontally, or diagonally, but the geese can only move vertically, or horizontally.

The pictures above and below show two different starting positions for the pieces, using one fox and 17 geese, but the game can also be played with only 15 geese, and there is a version using two foxes.


You can use the board, set up as below, for a slightly different game of solitaire, where the object is to jump one piece over another, removing jumped pieces, until only one piece remains (we have yet to manage it).


Fewer pieces can be used, ignoring the outer spaces, for slightly easier play.


You can even play an online version of the game at MIStupid.com. Just imagine what the Pilgrim's would think of that!

It's great to be a homeschooler.